
Dragon Sculpting & 3D Printing Business
Sculpted, produced, and sold a collection of highly detailed dragon models based on the Wings of Fire book series, building a successful product-based business serving customers worldwide.
Quick Stats
100+ physical dragon models sold
200+ digital files sold
$8,000+ raised through kickstarter
Sculpted, manufactured, marketed, and fulfilled products independently
Project Overview
This project began as a passion for the Wings of Fire book series and evolved into a small business centered around highly detailed dragon sculptures representing the different dragon tribes from the books. Using a digital sculpting workflow, I created collectible dragon models that were sold as both physical 3D prints and downloadable files for home printing.
Software Used


ZBrush
Photoshop


Blender
Lychee Slicer

Final Cut Pro
My Roles
Researched and interpreted dragon designs from the Wings of Fire book series
Sculpted original dragon models in ZBrush
Prepared models for 3D printing and productionDesigned and optimized support structures for successful printing
Produced and post-processed physical prints
Created product photography, renders, and promotional materials
Managed online sales, customer communication, and order fulfillment
Oversaw product development, pricing, and business operations

Process
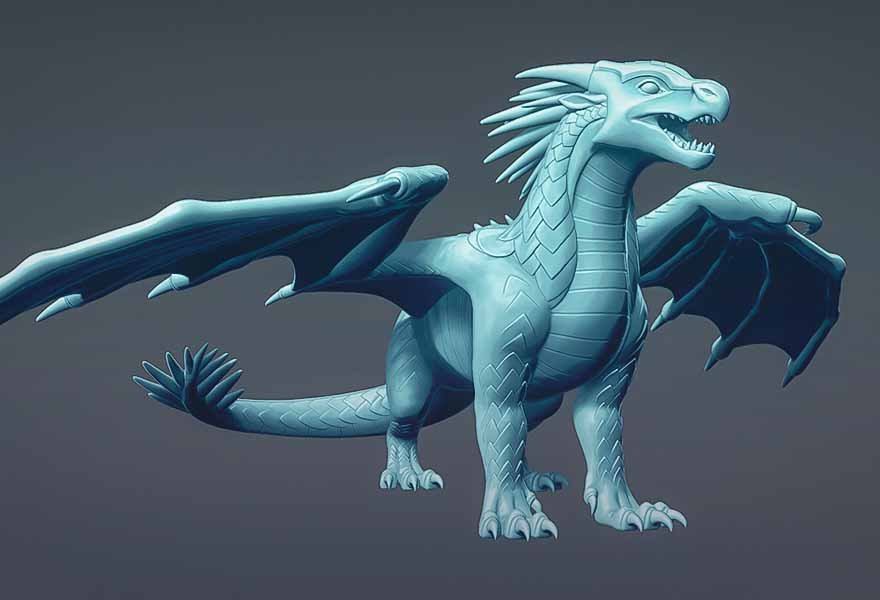
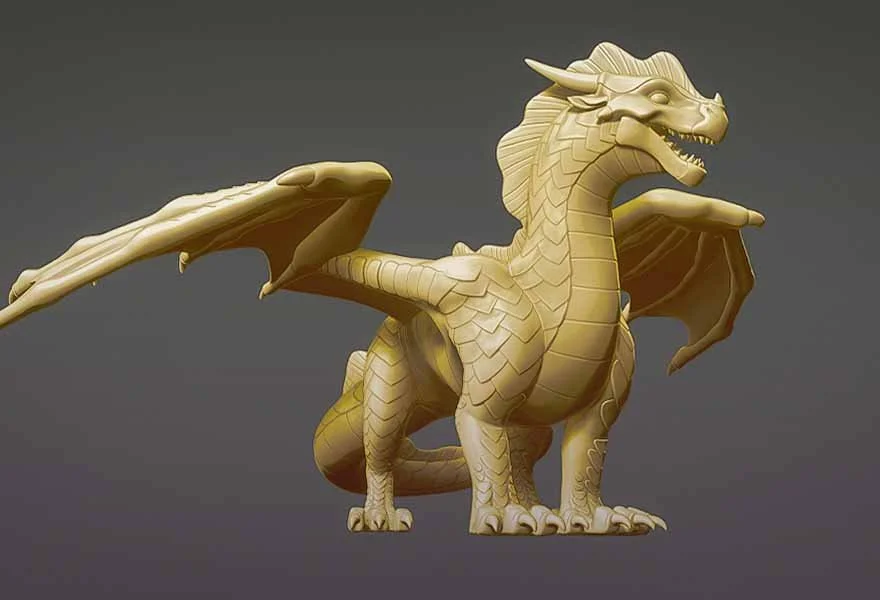
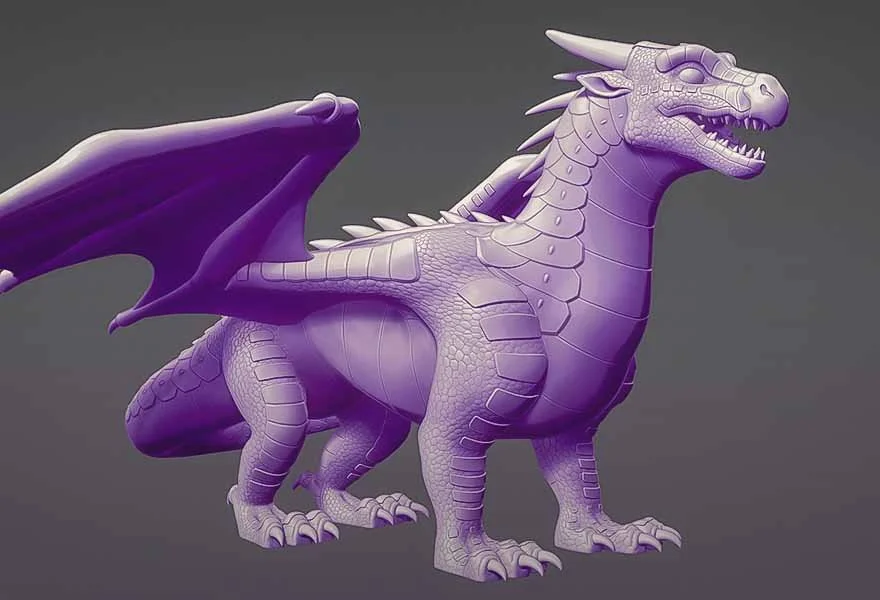
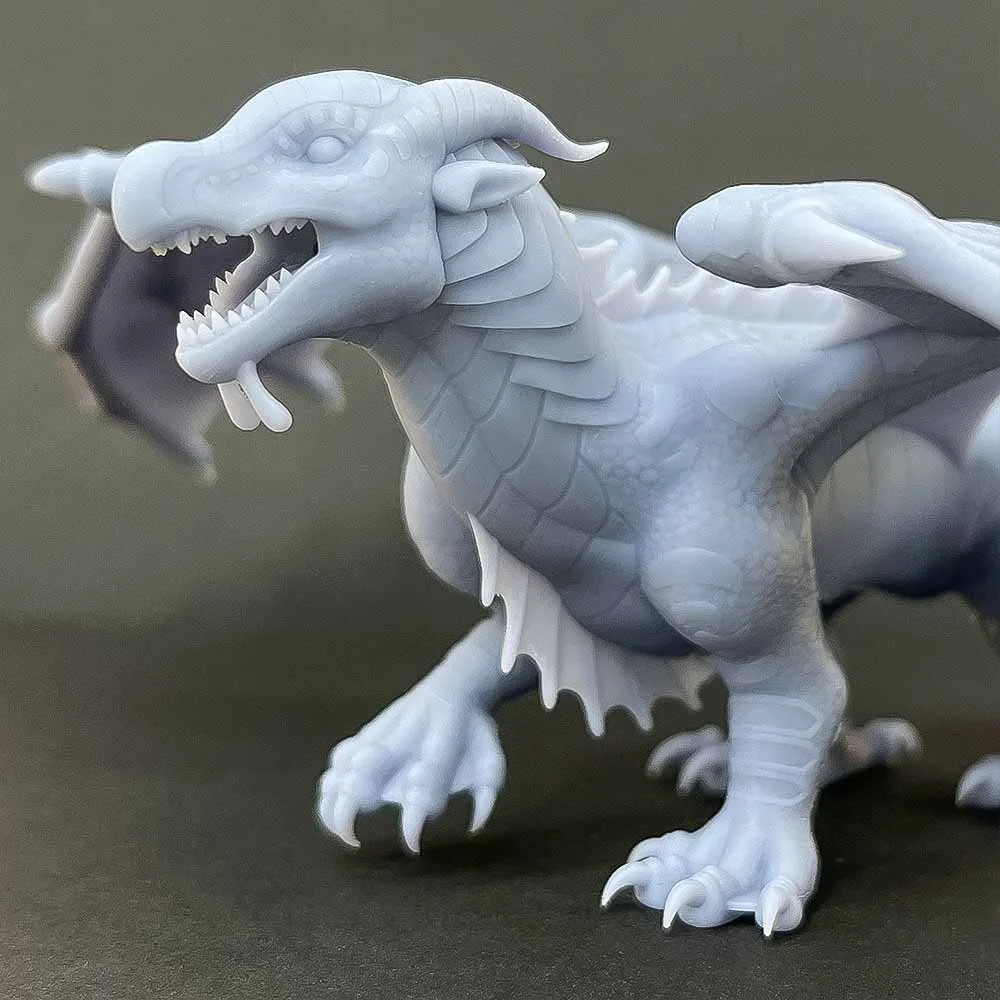
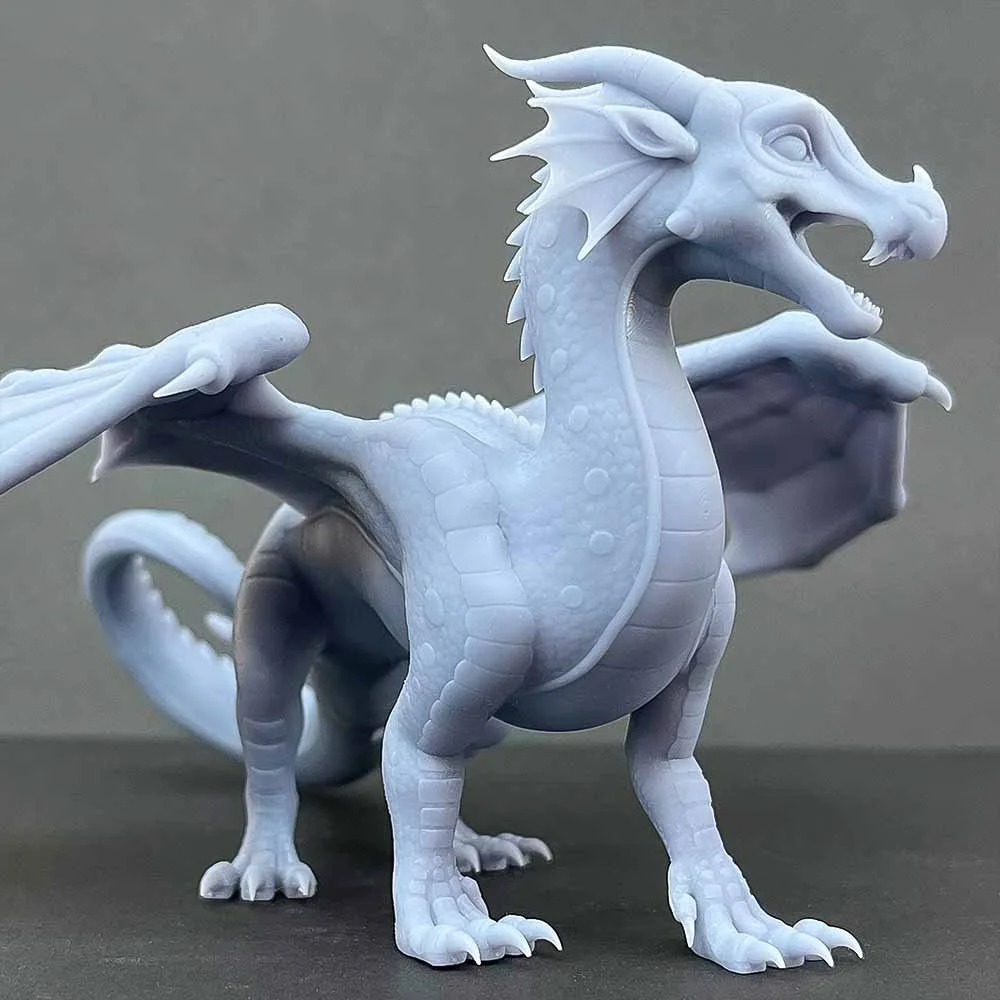
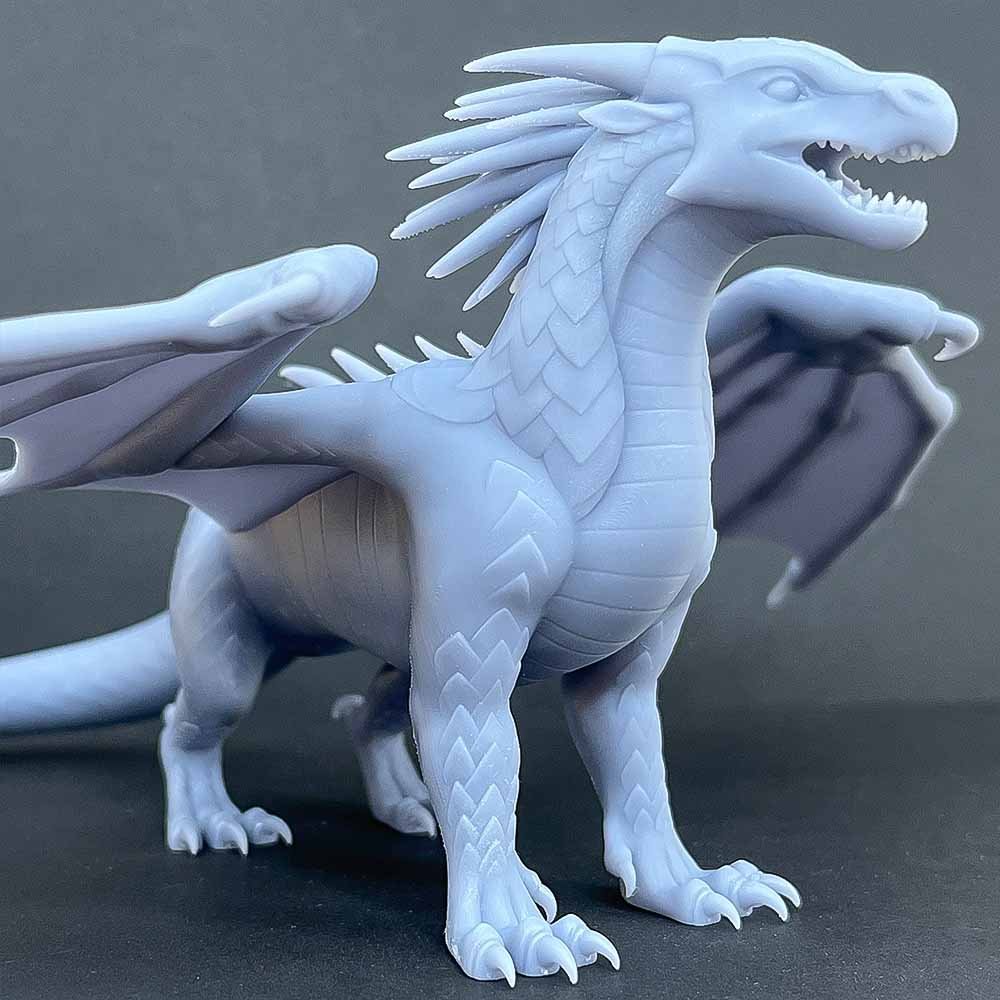
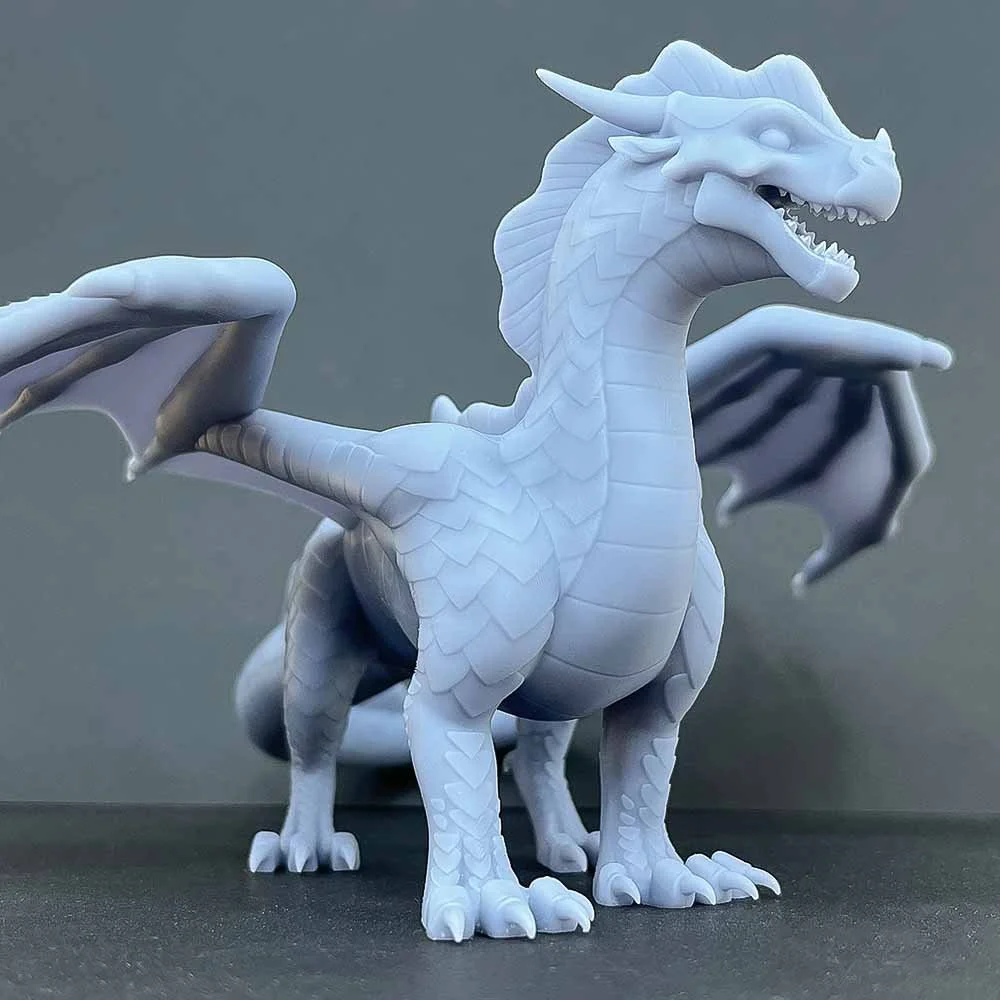
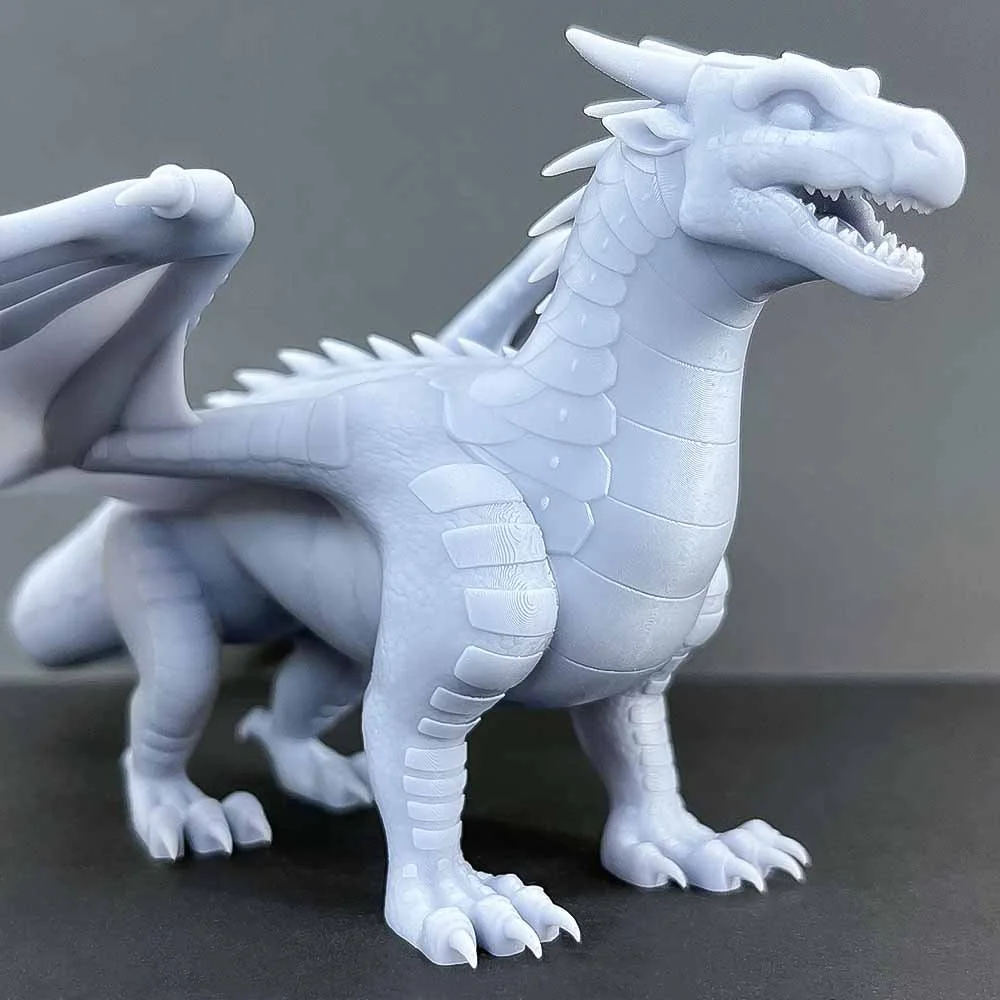
Reference
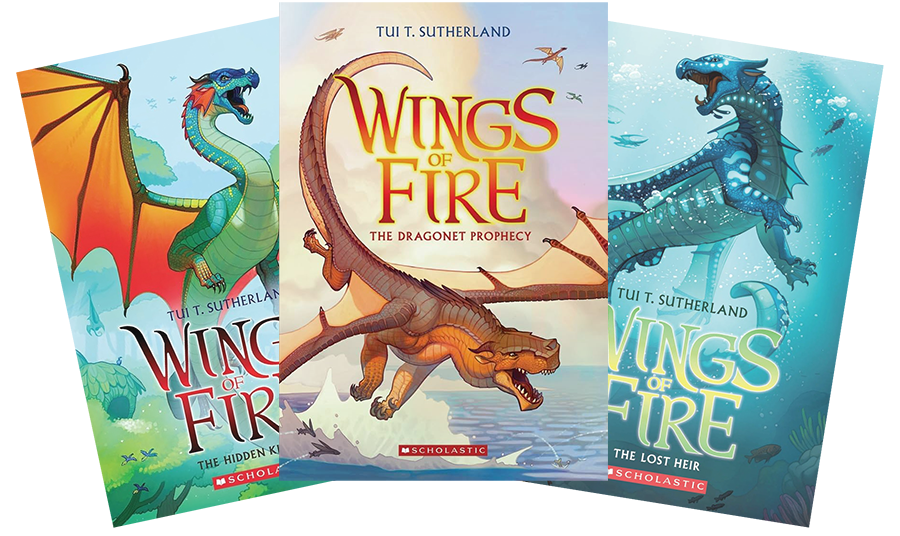
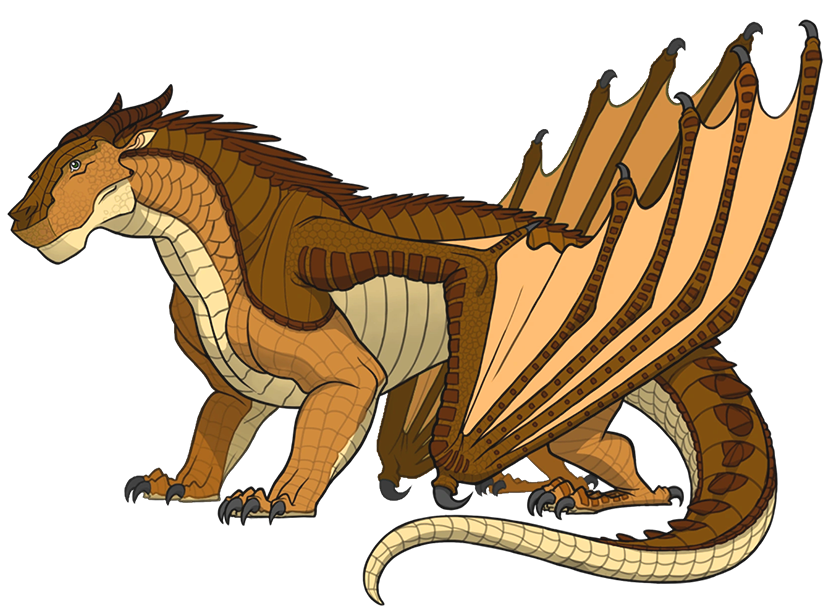
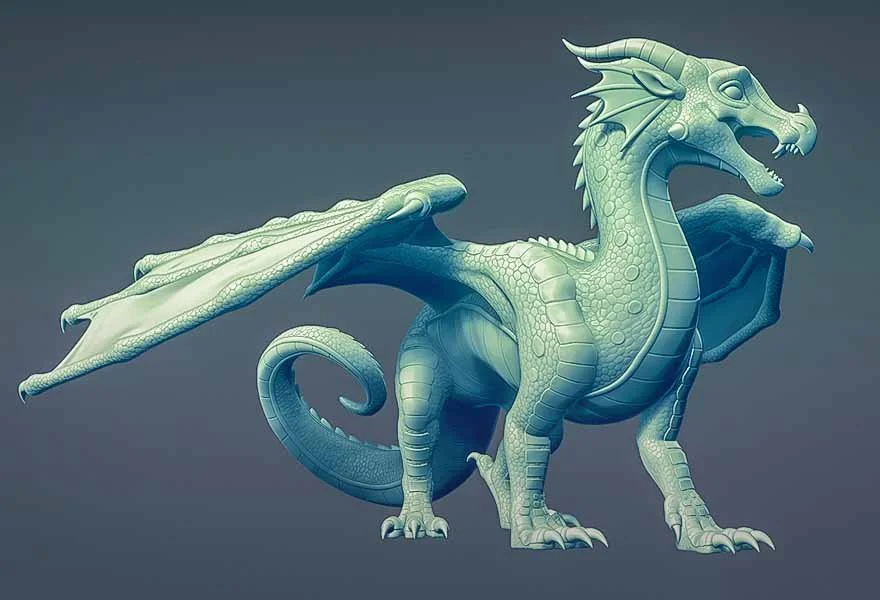
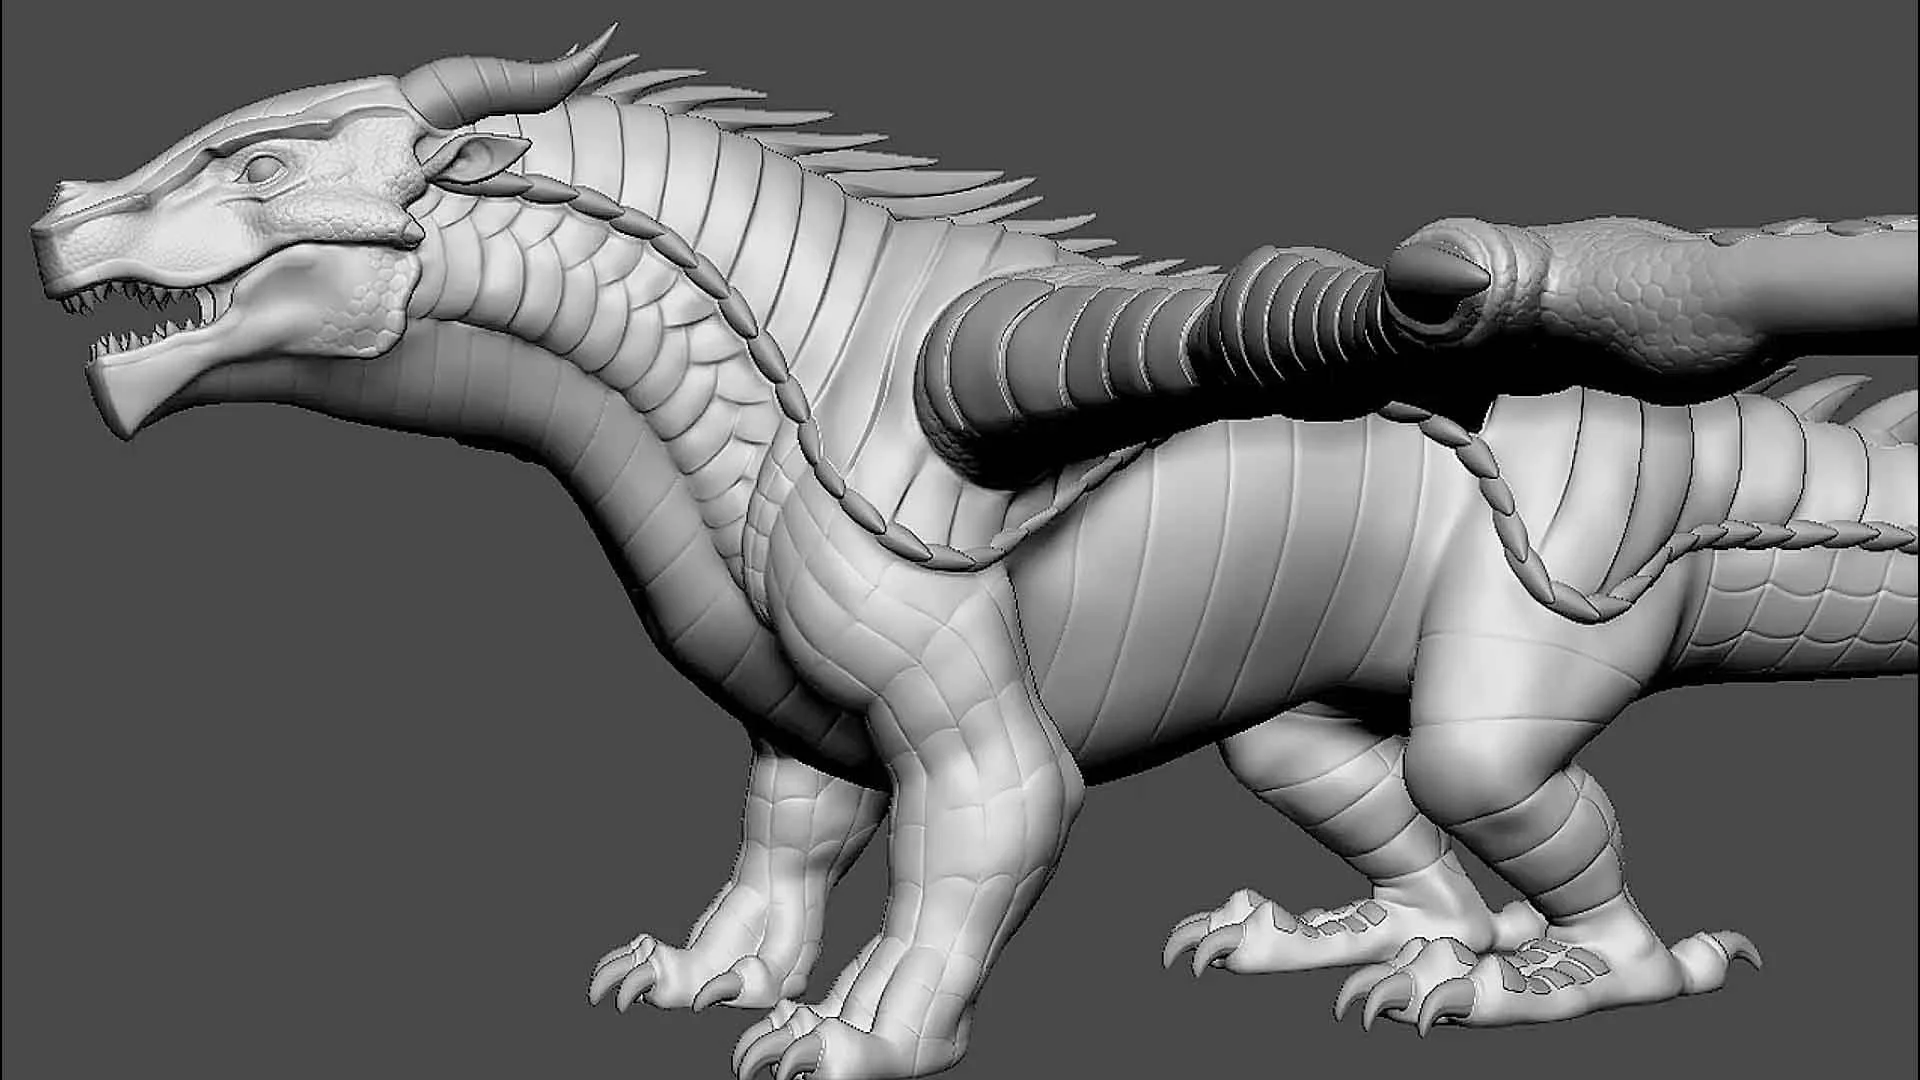
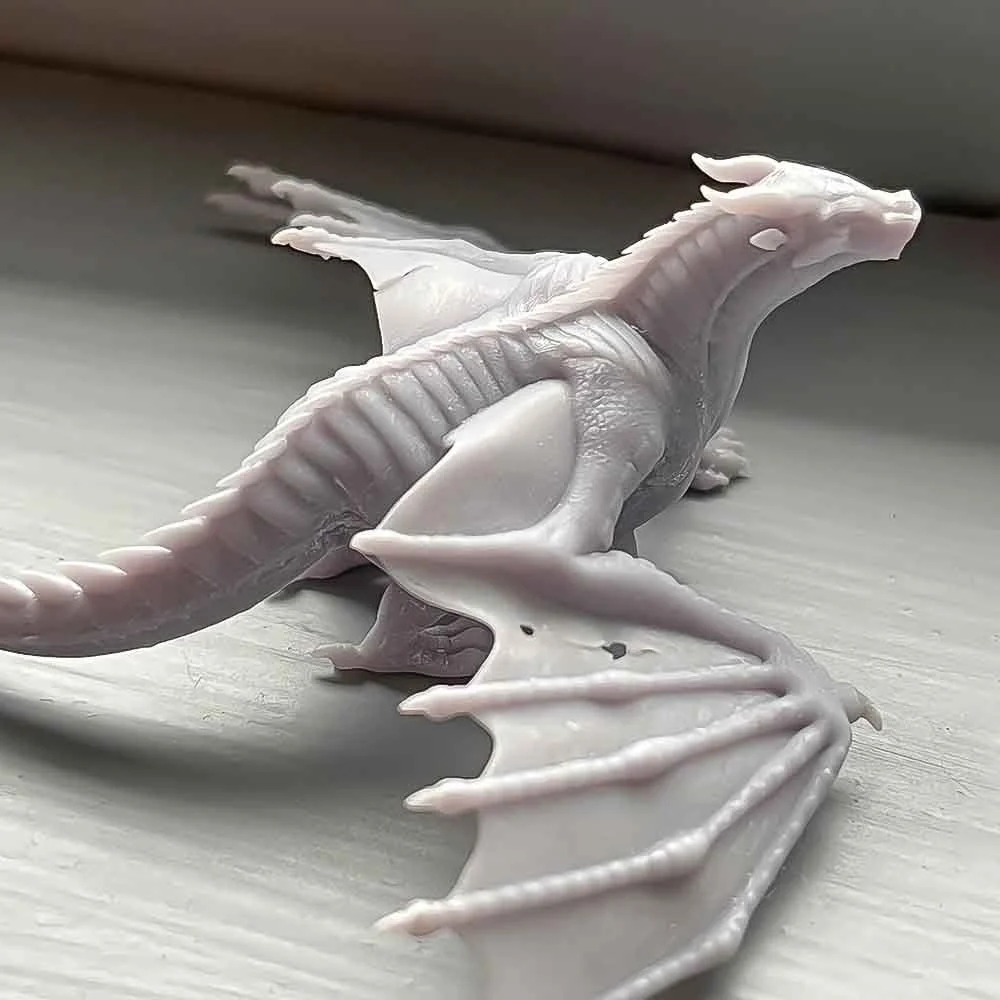
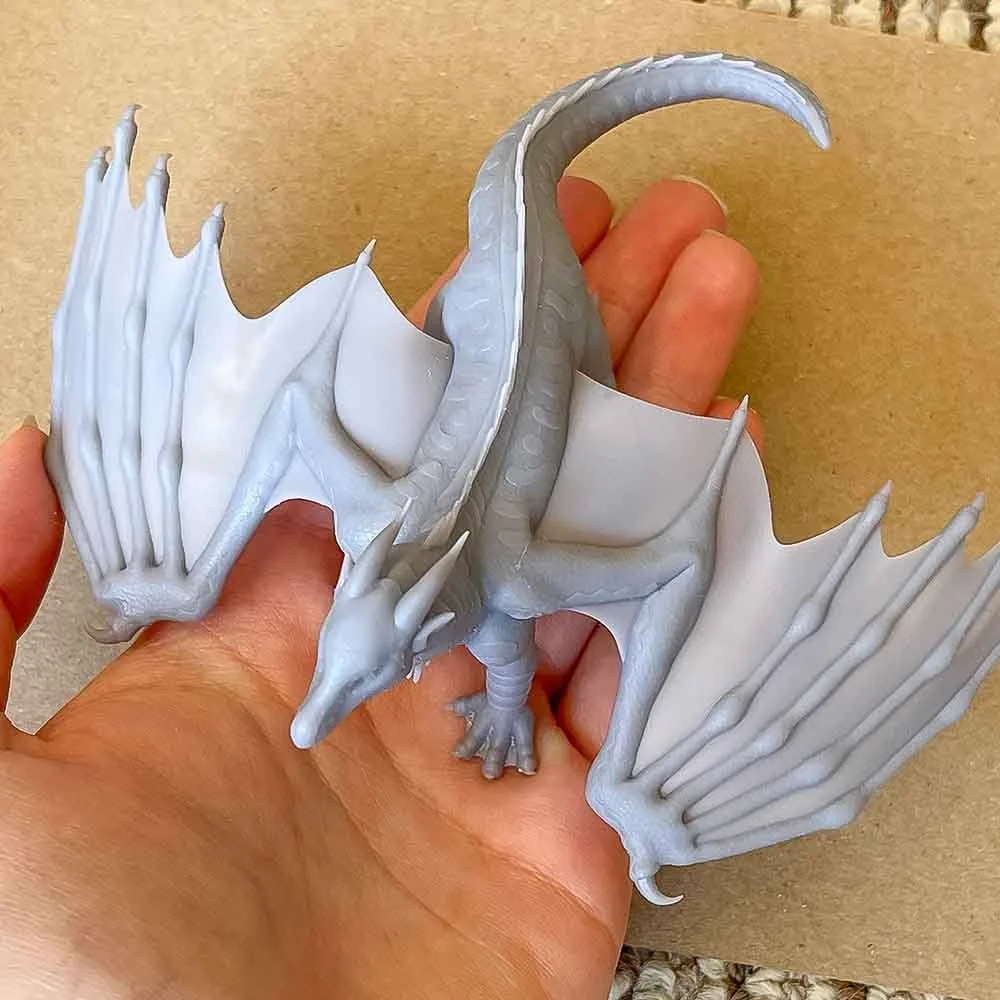
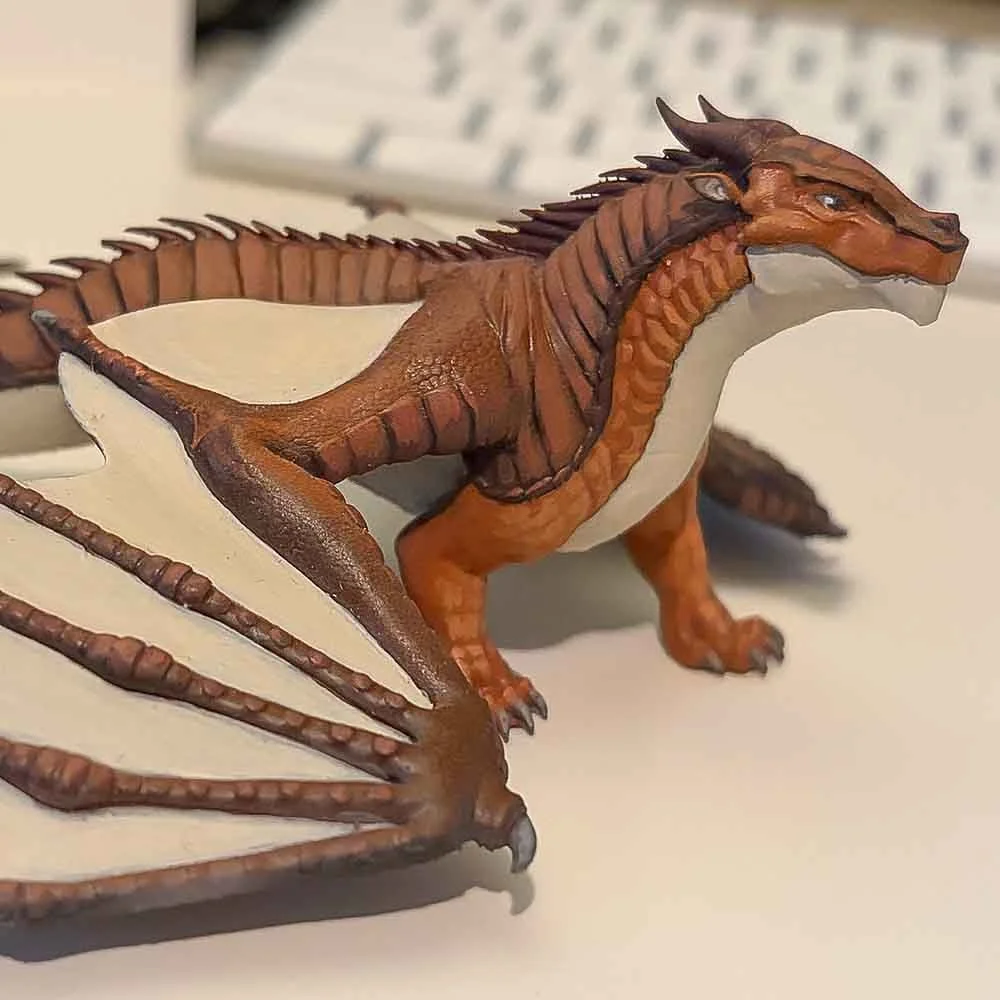
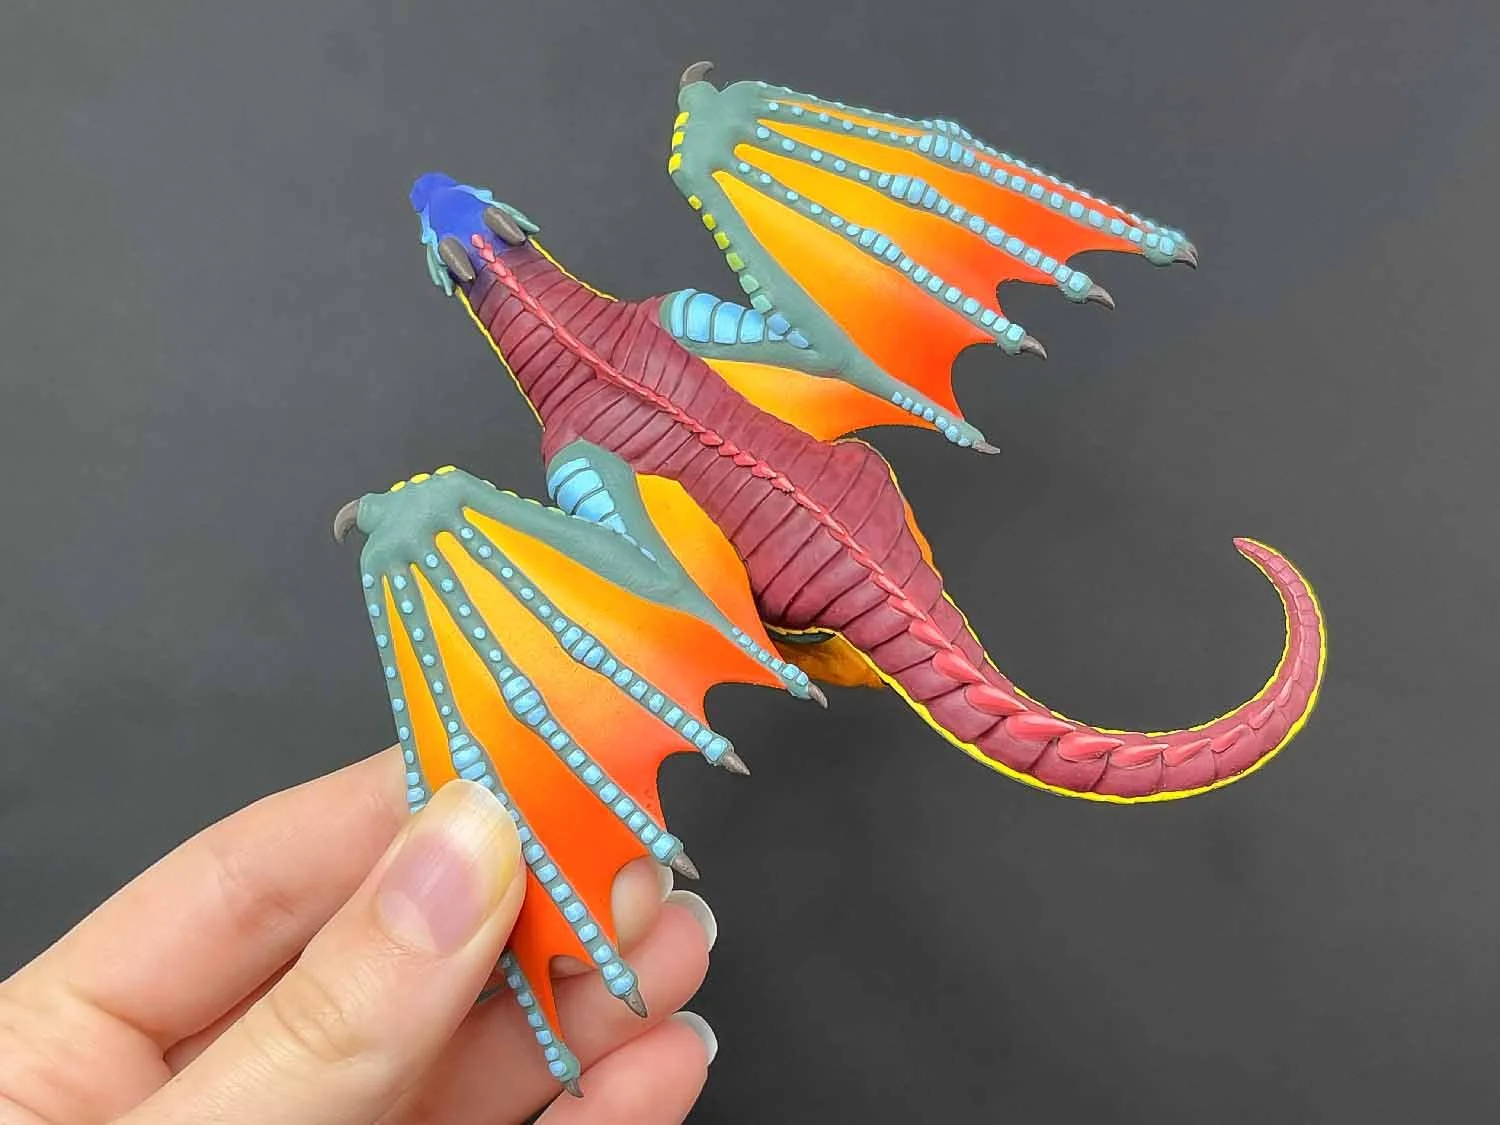
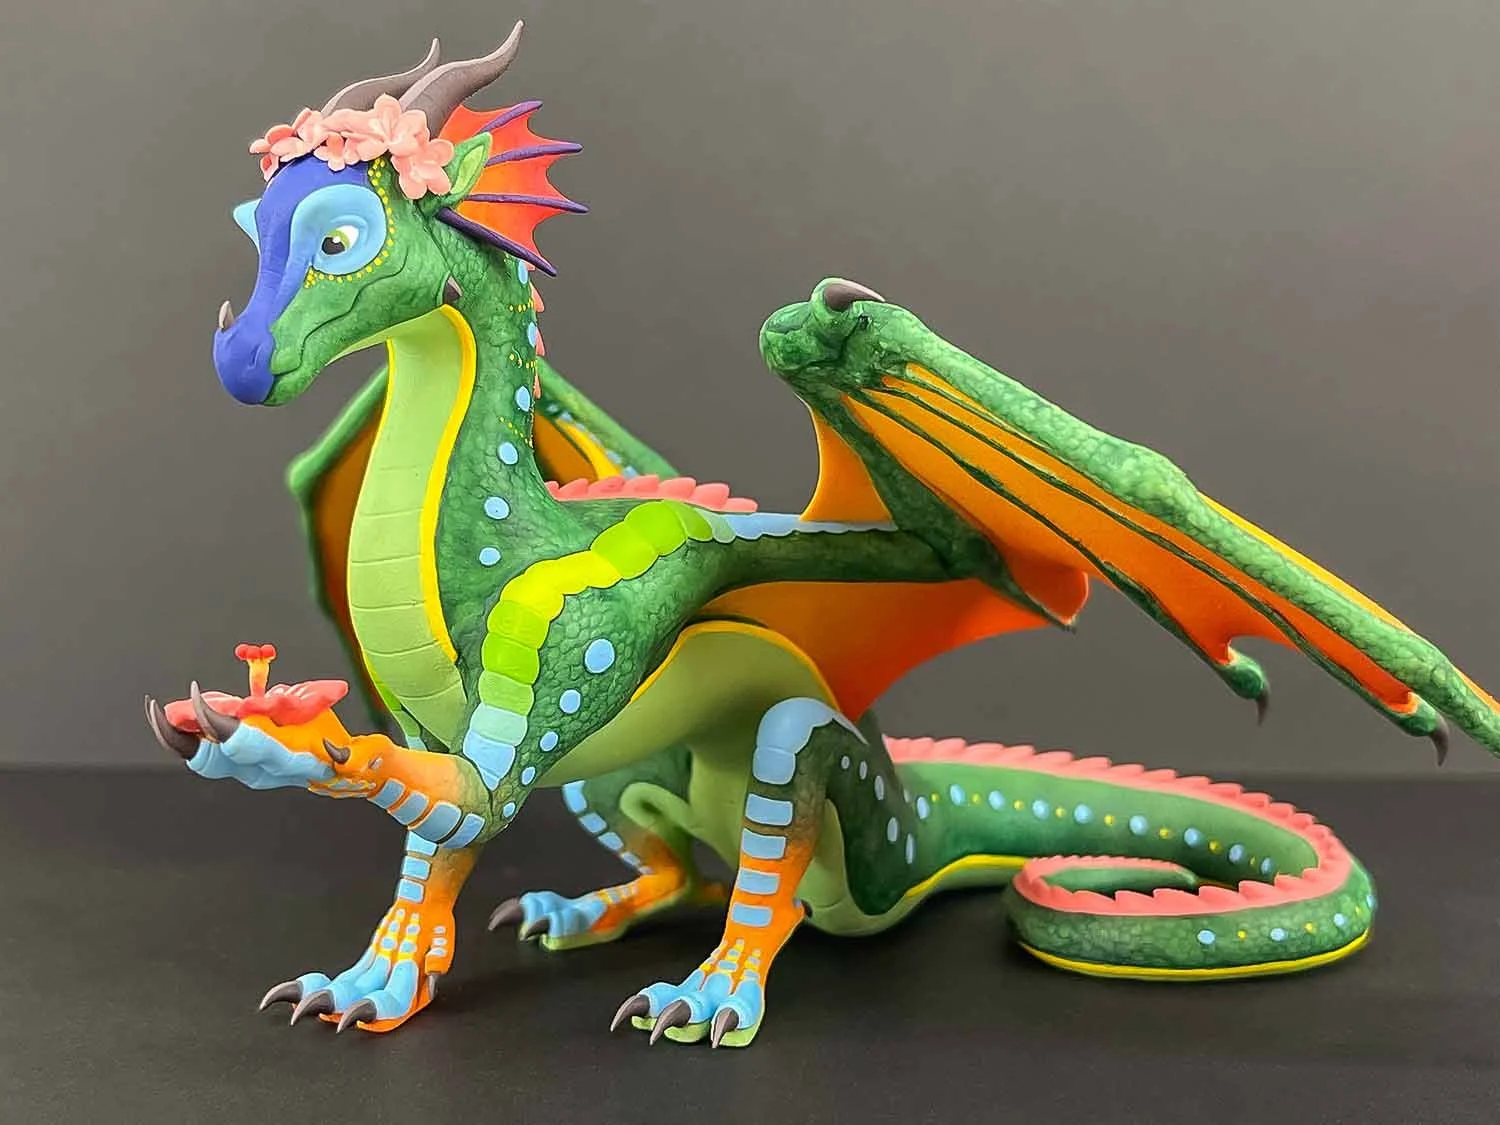
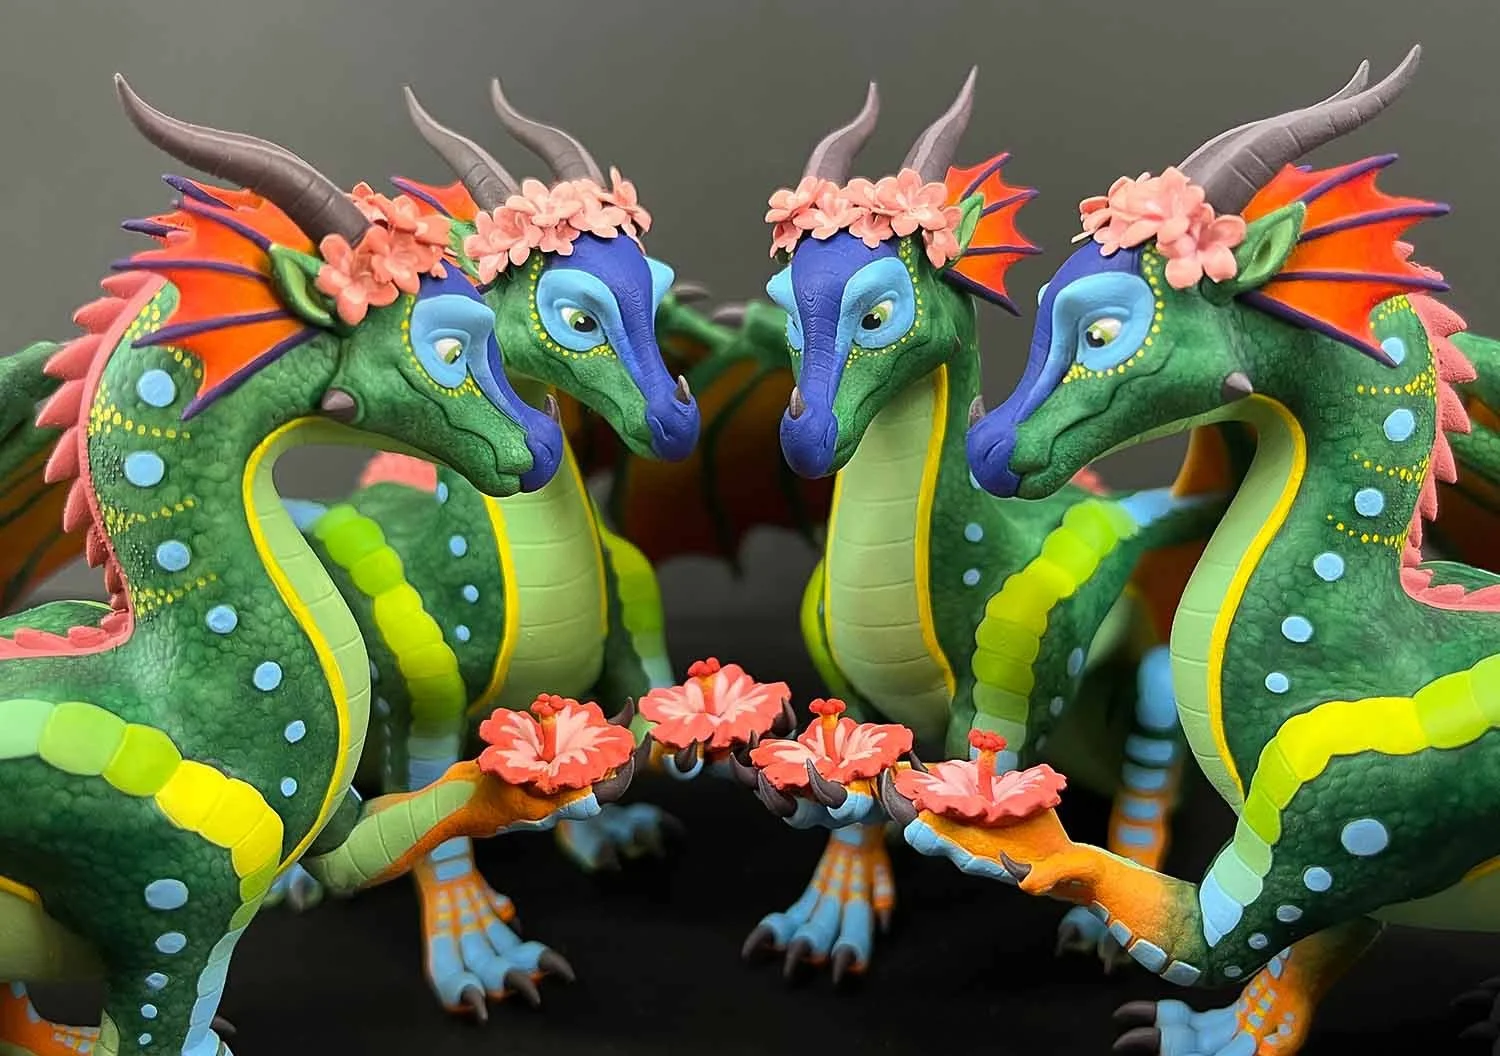
My collection of dragon models includes 6 highly detailed sculptures of the different dragon tribes from the Wings of Fire book series by Tui T. Sutherland.
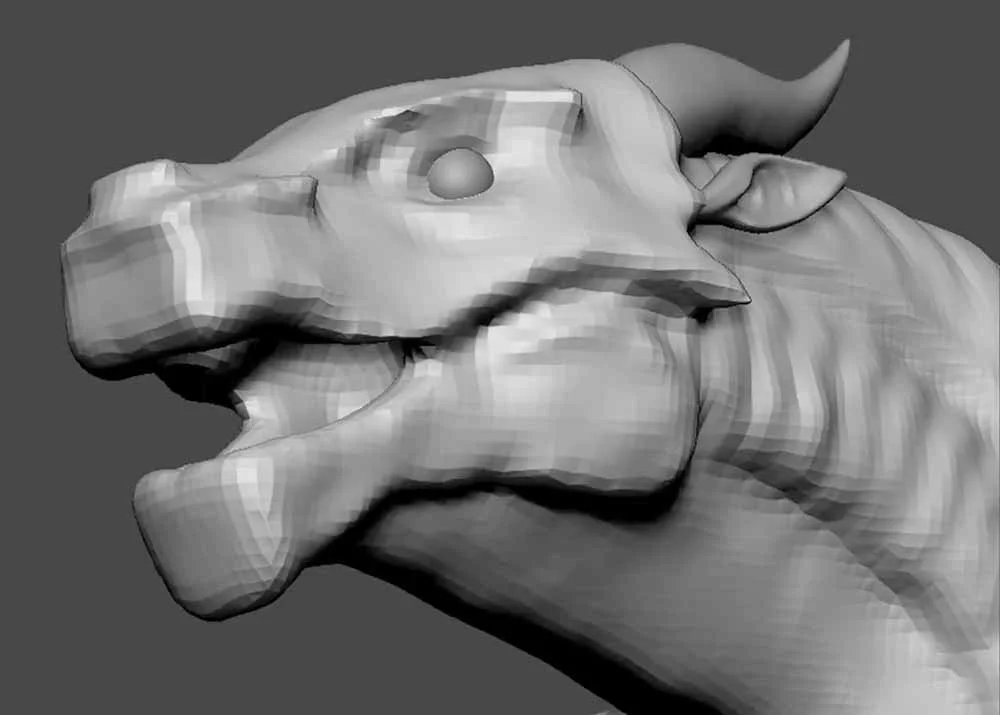
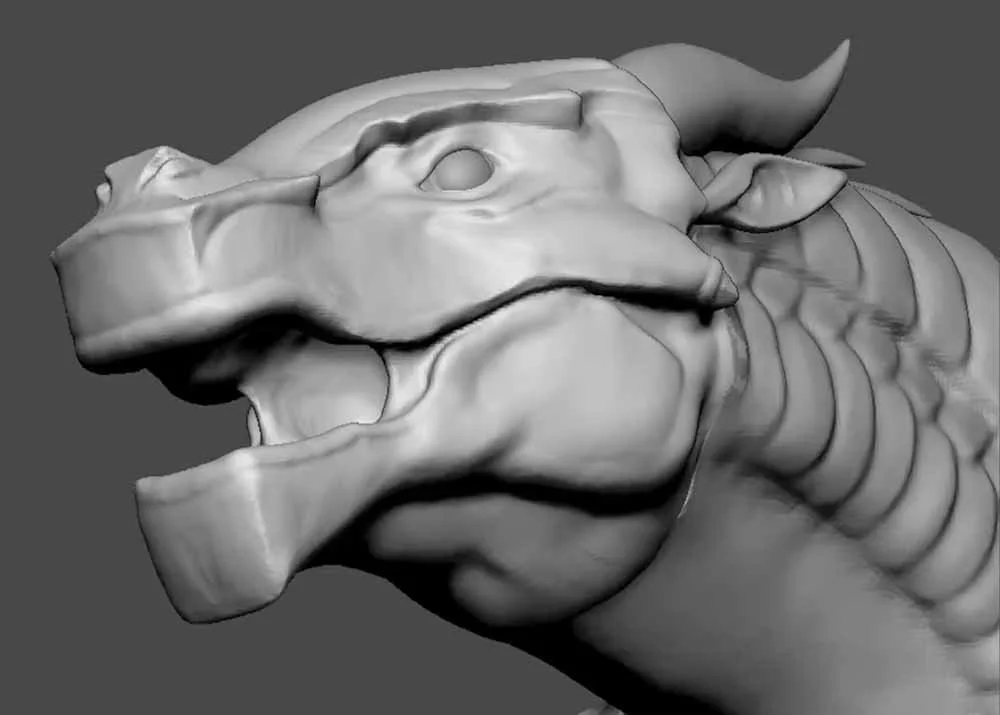
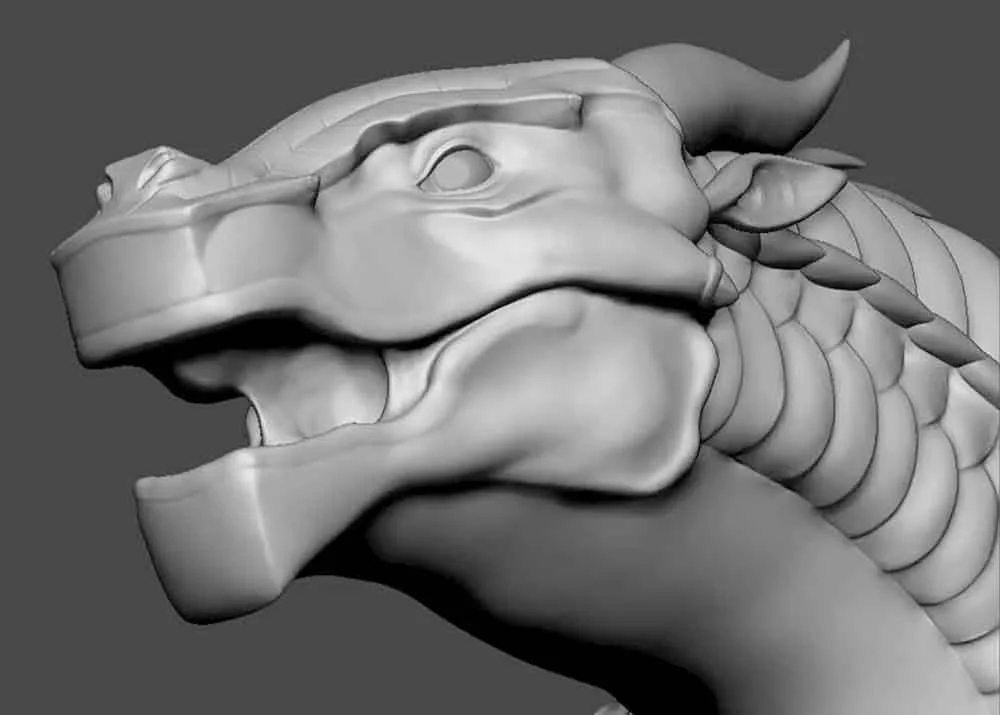
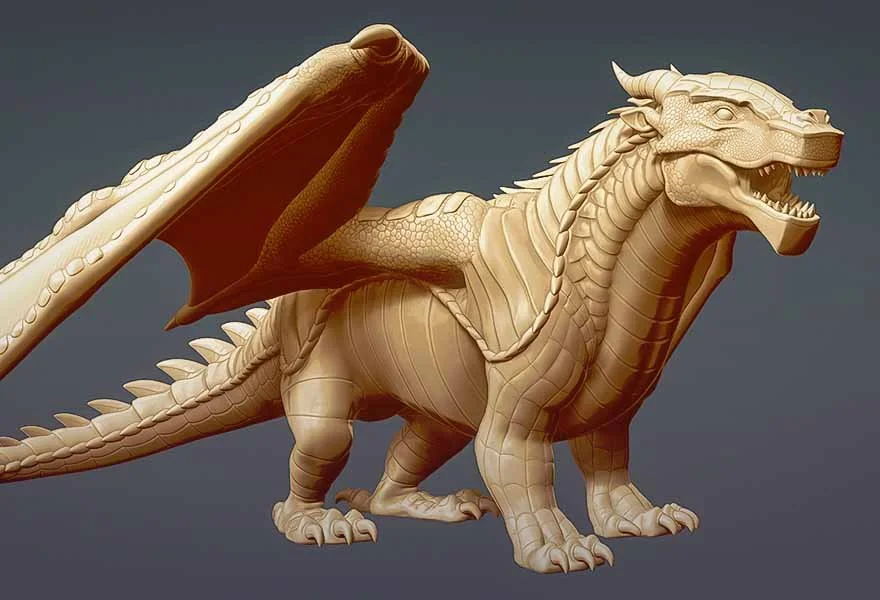
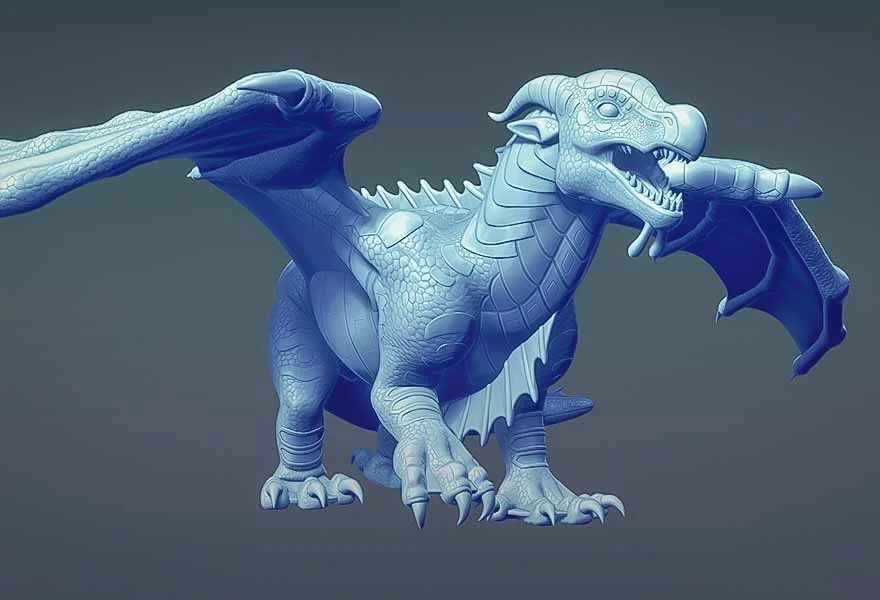
Sculpt Stages
My workflow with sculpting goes from large forms to small. Putting emphasis on a strong silhouette and clean shapes early on to ensure it carries through each stage.
Blockin
Mid Level Detail
Refining Mid Level

High Frequency Detail
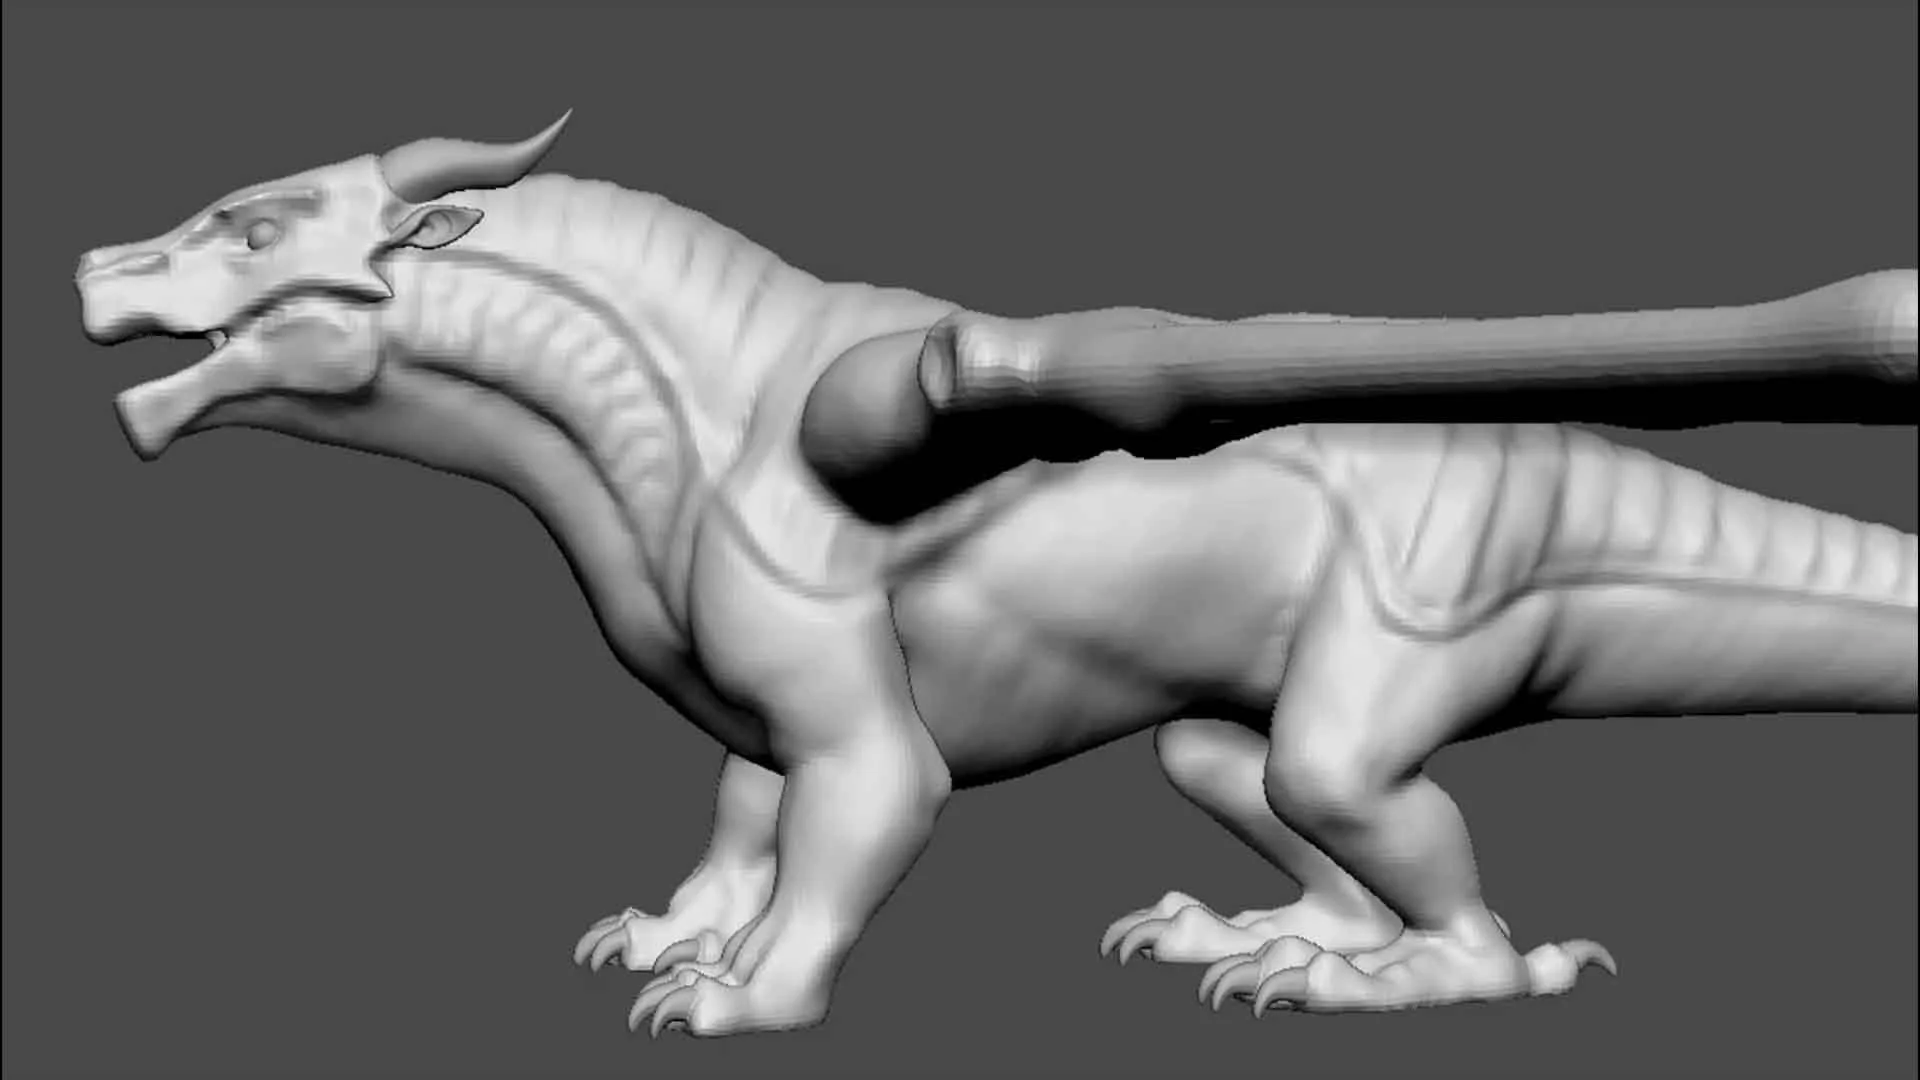
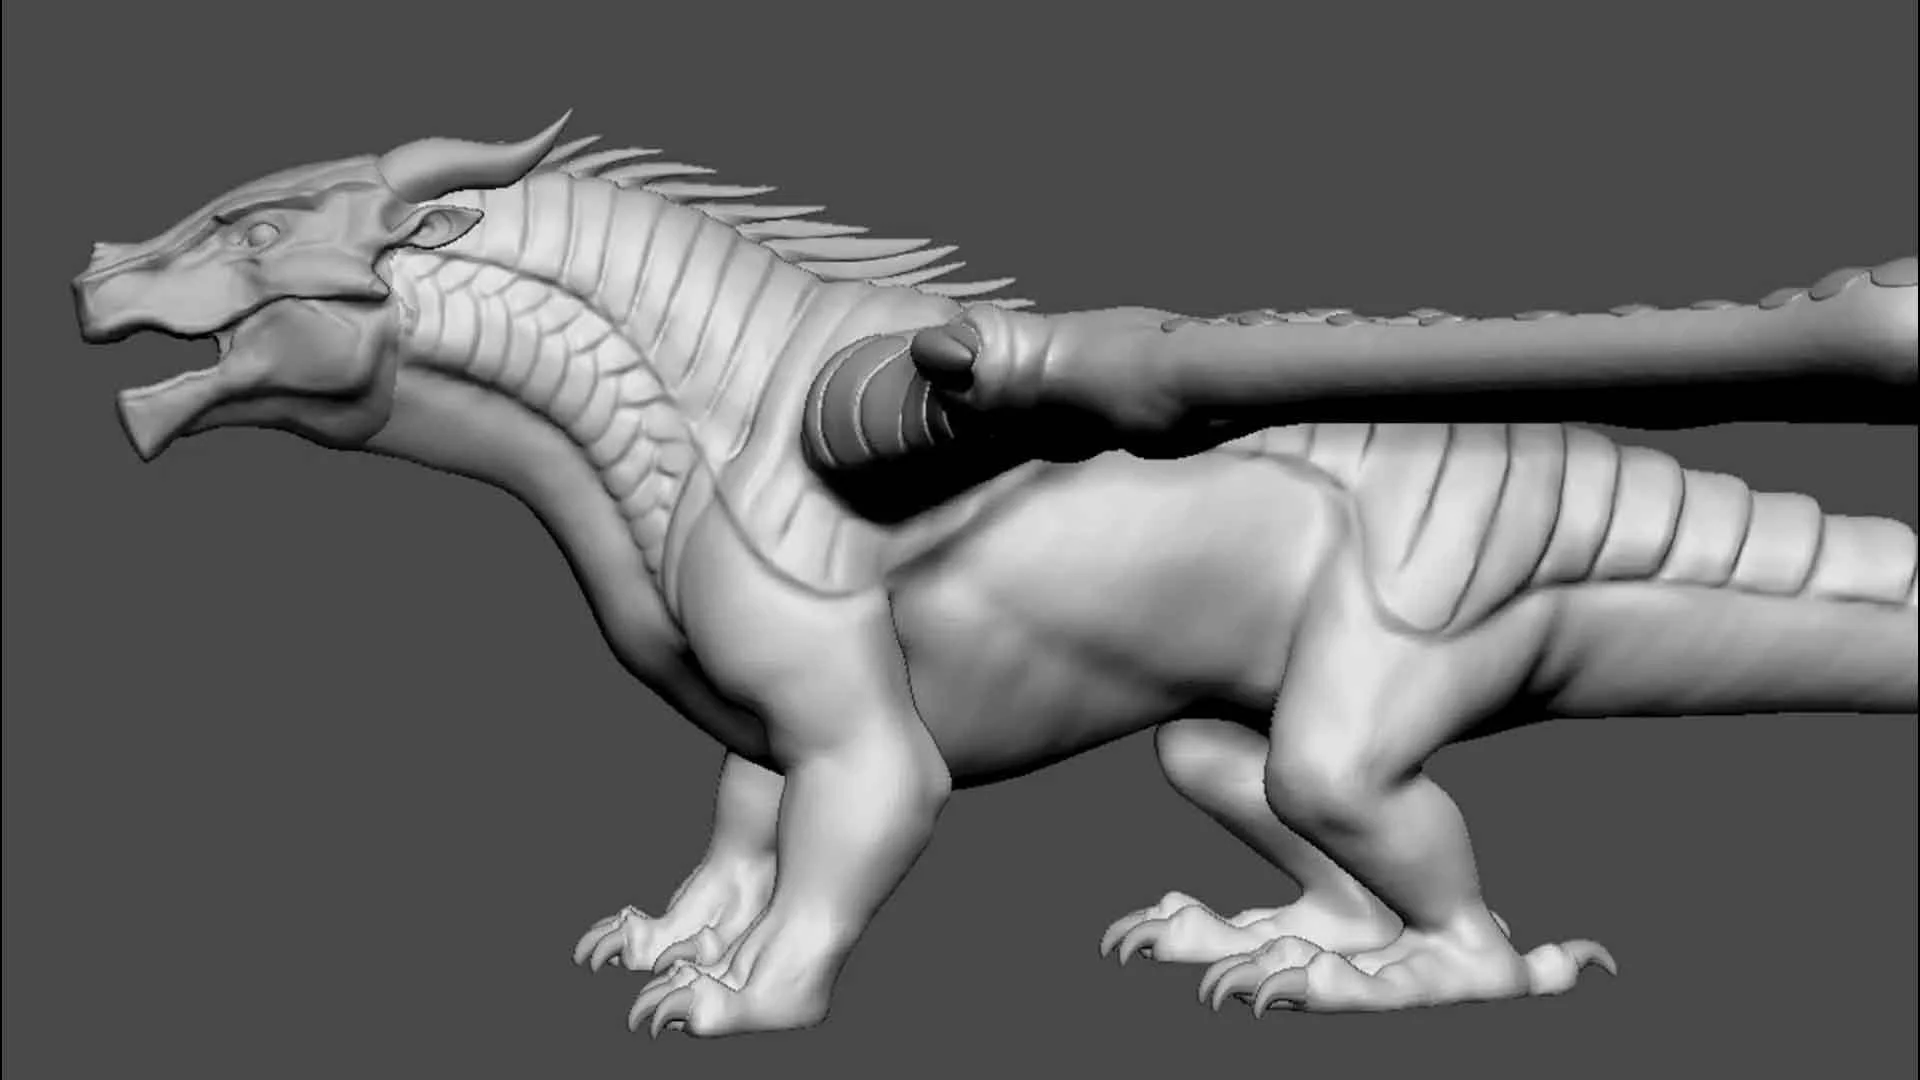
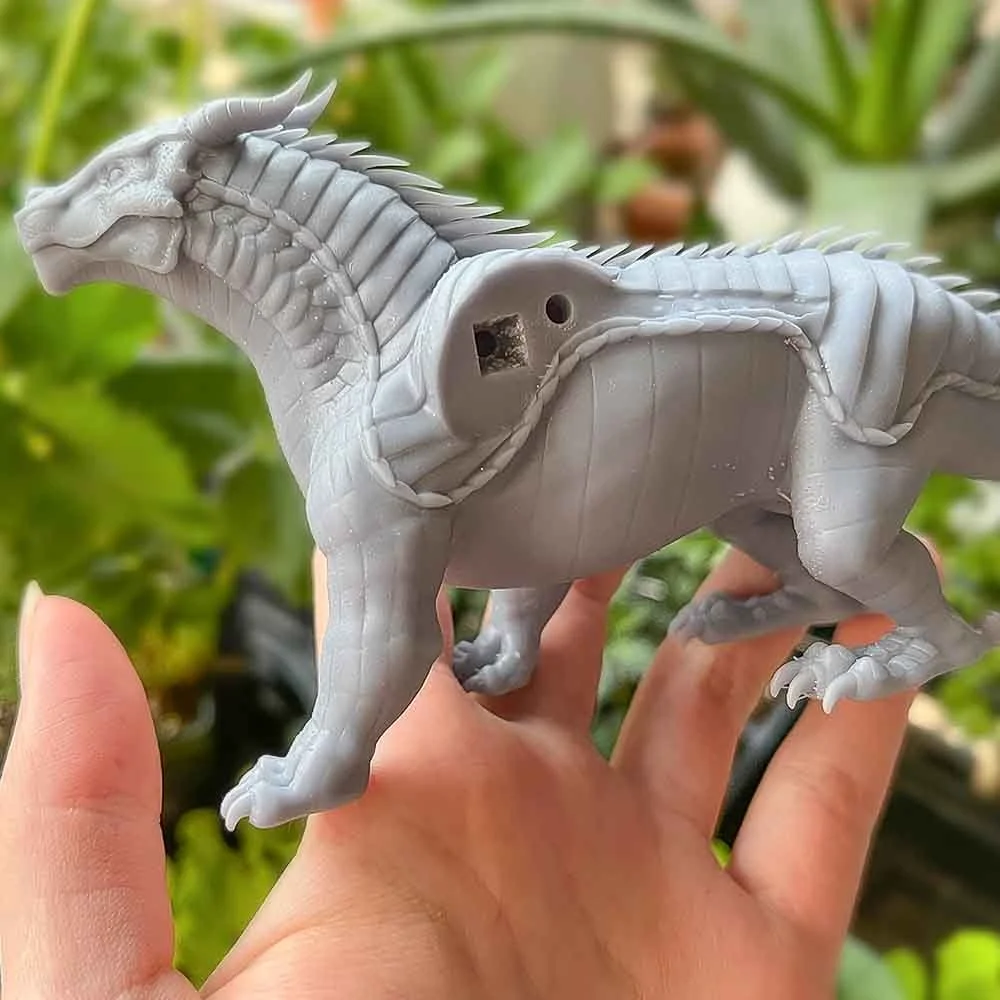
Rigging & Posing
Each dragon is sculpted in Tpose to maintain a non-destructive workflow. This way the models can be reused.
When the sculpture is finished I bring my lowest subdivision level of the model into Blender, where I create a basic rig for posing.
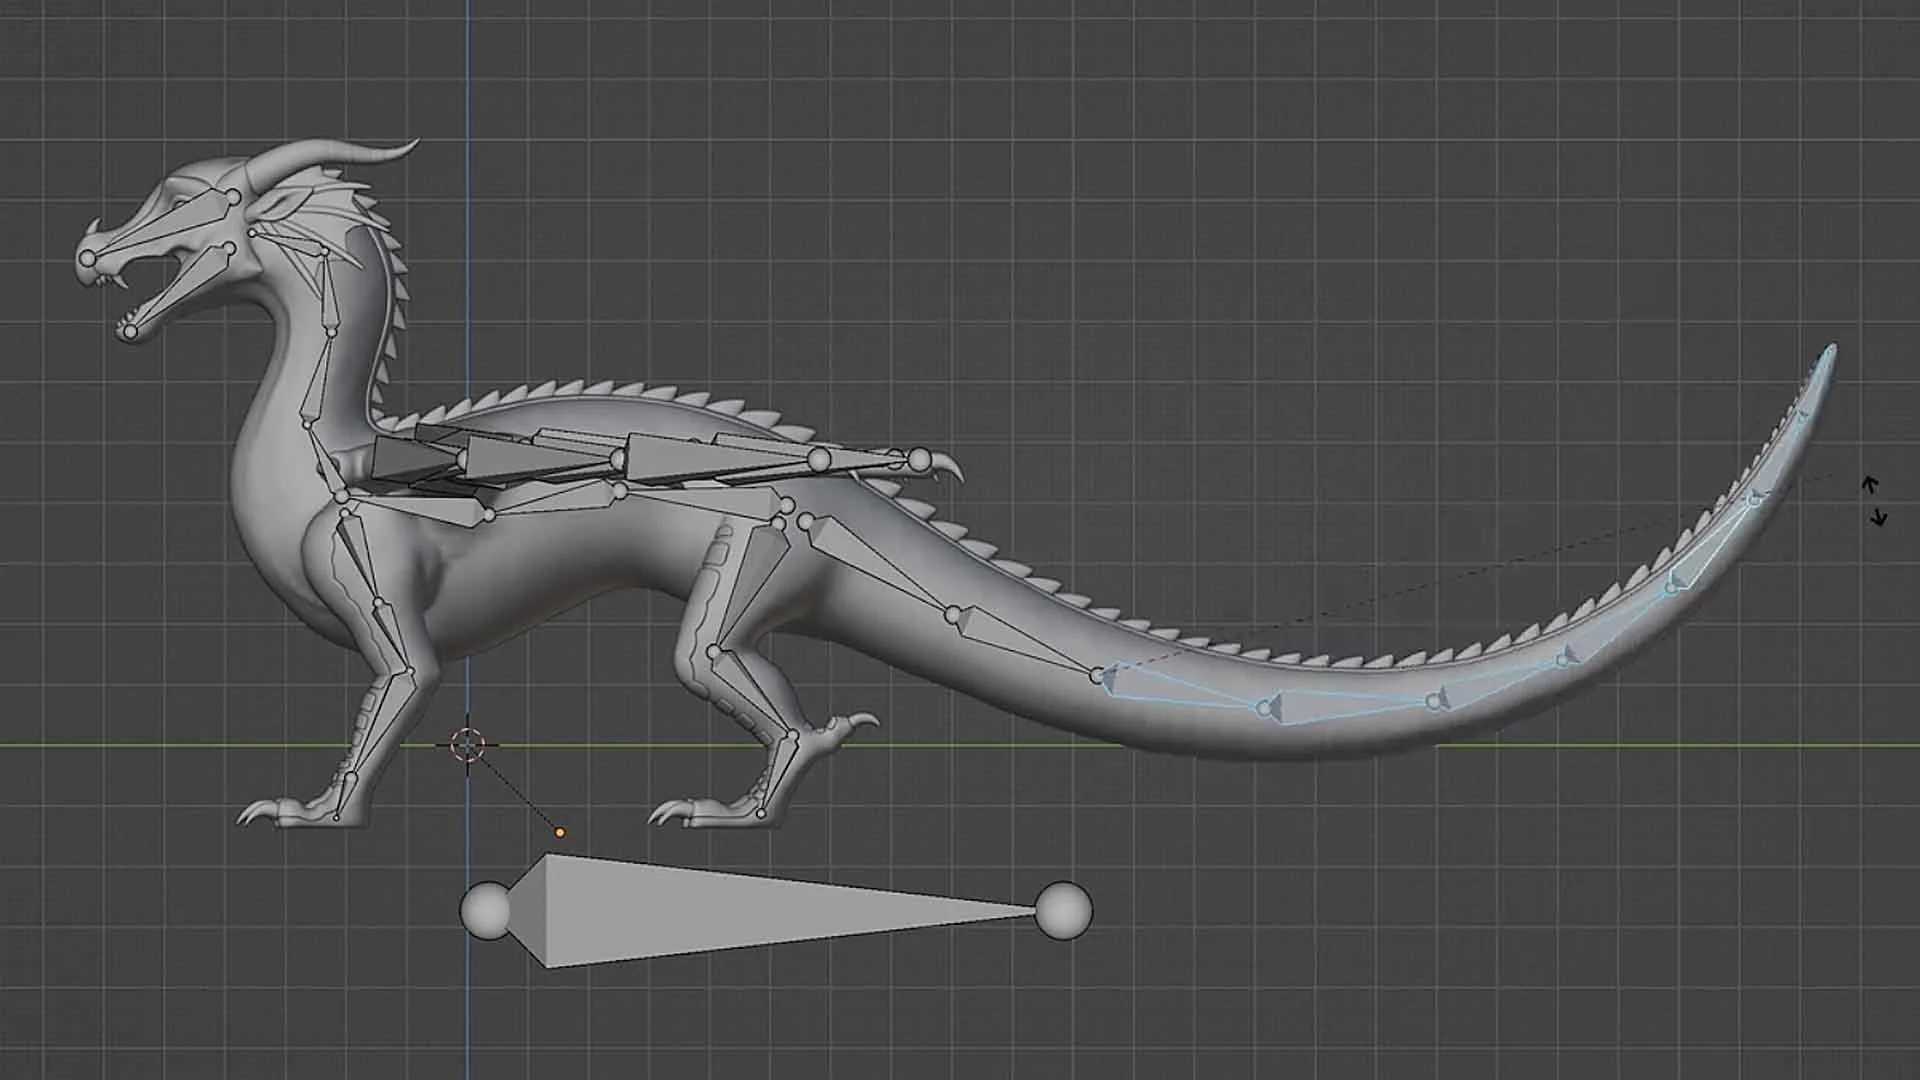
After getting a general block-in pose with the rig, I export it back to Zbrush for cleanup and polish.
I leave areas like the fingers, toes, mouth, and other small details to position in Zbrush. This allows for more control with each subdivision level of detail accessible for me to tweak and monitor.
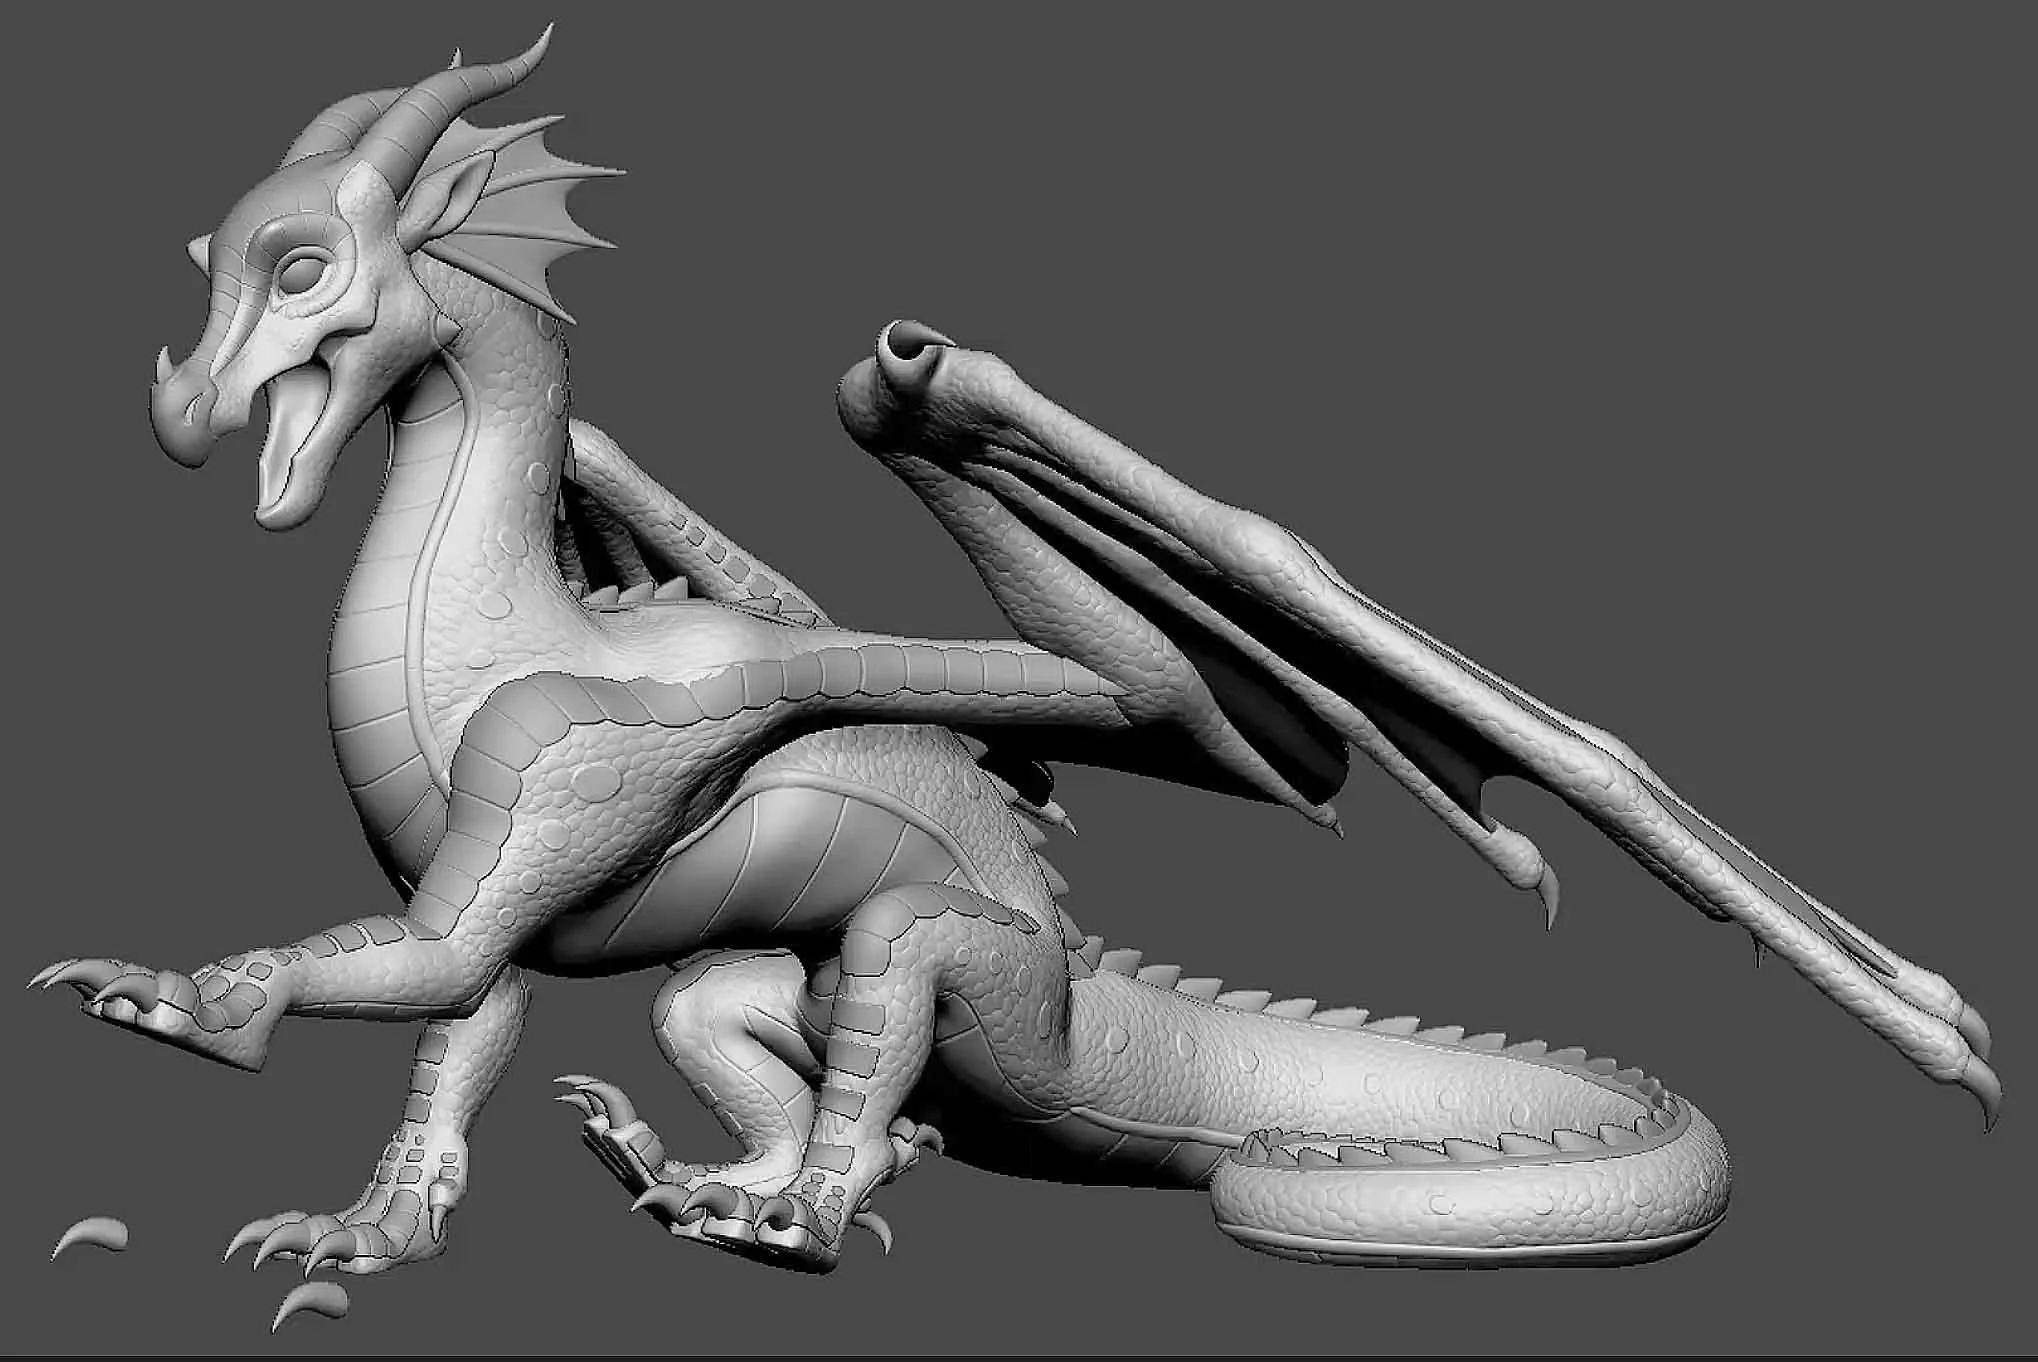
Before: Imported to Zbrush after posing in Blender
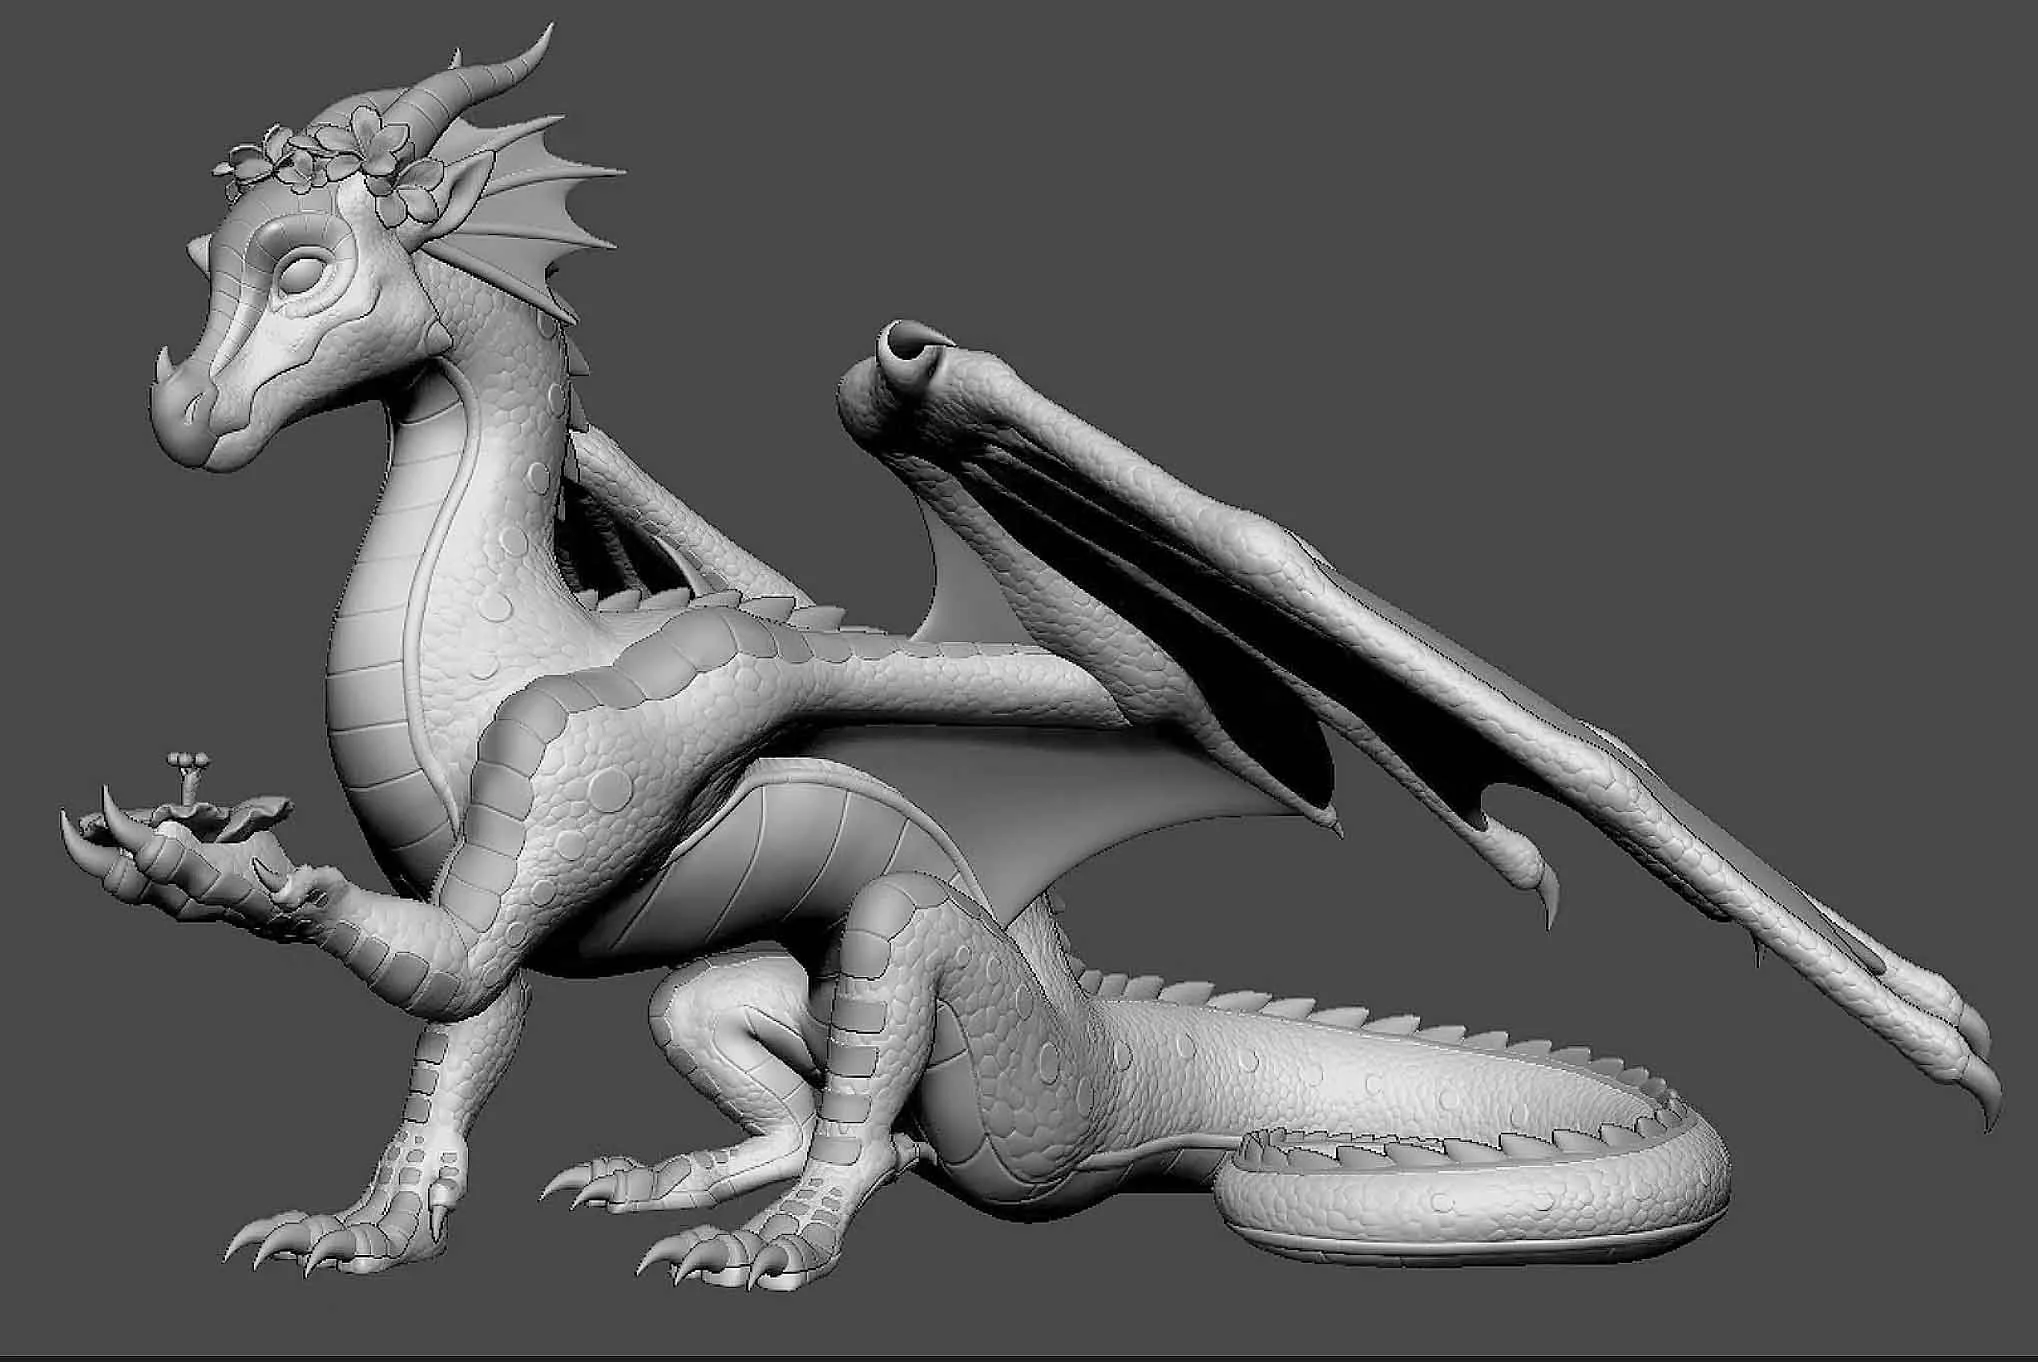
After: Cleaned up in Zbrush
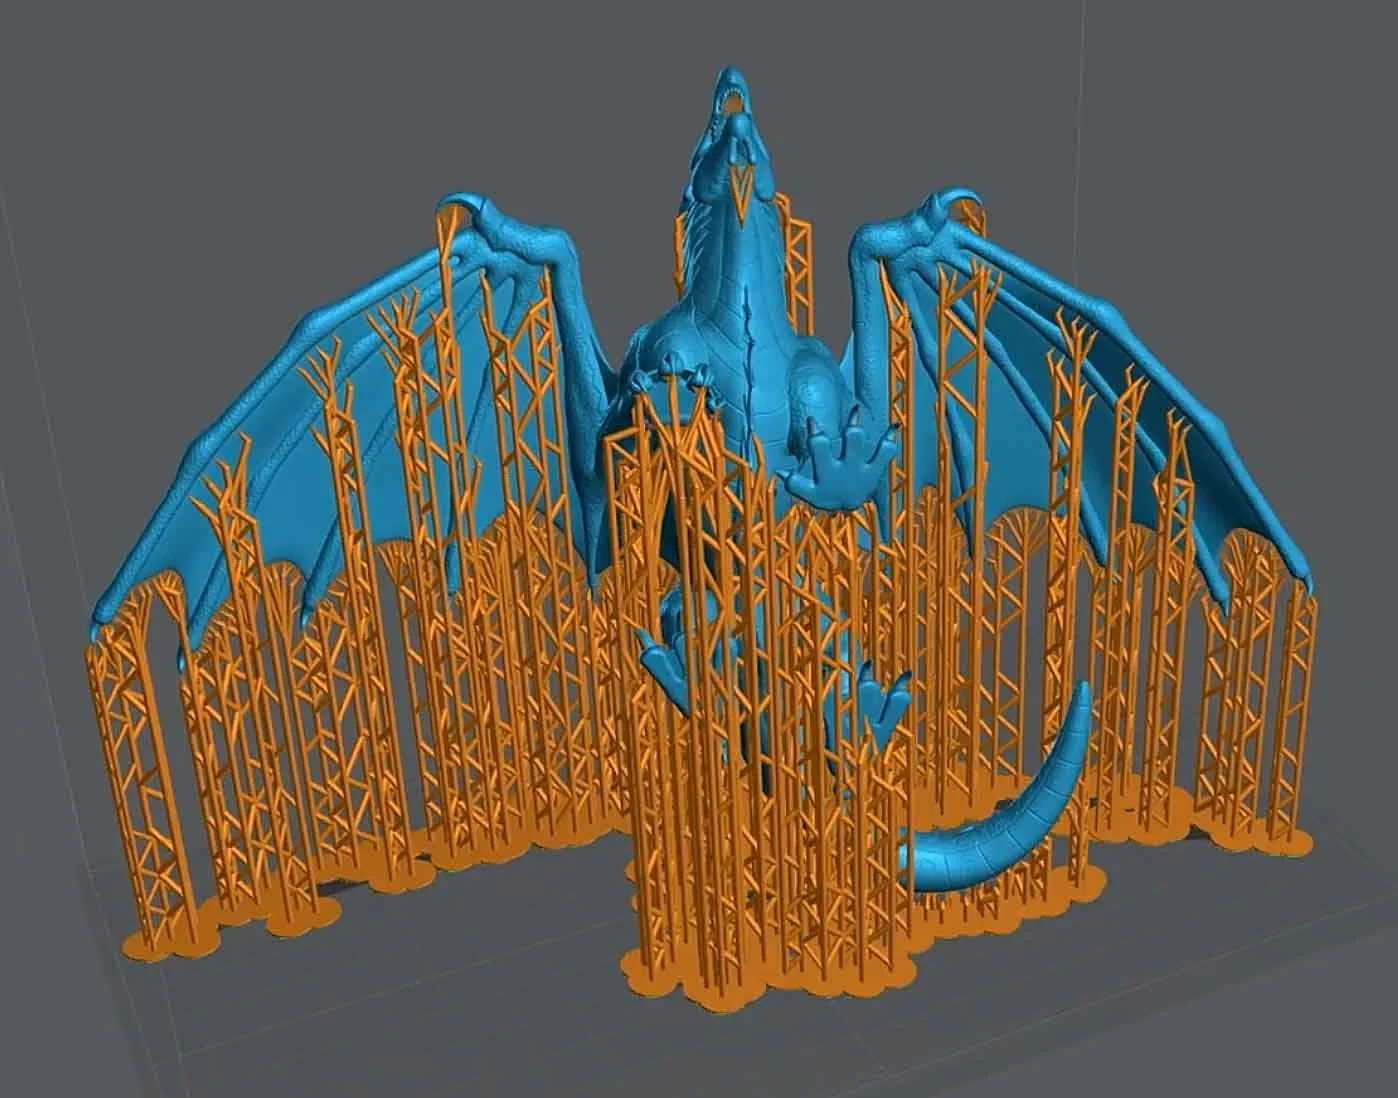
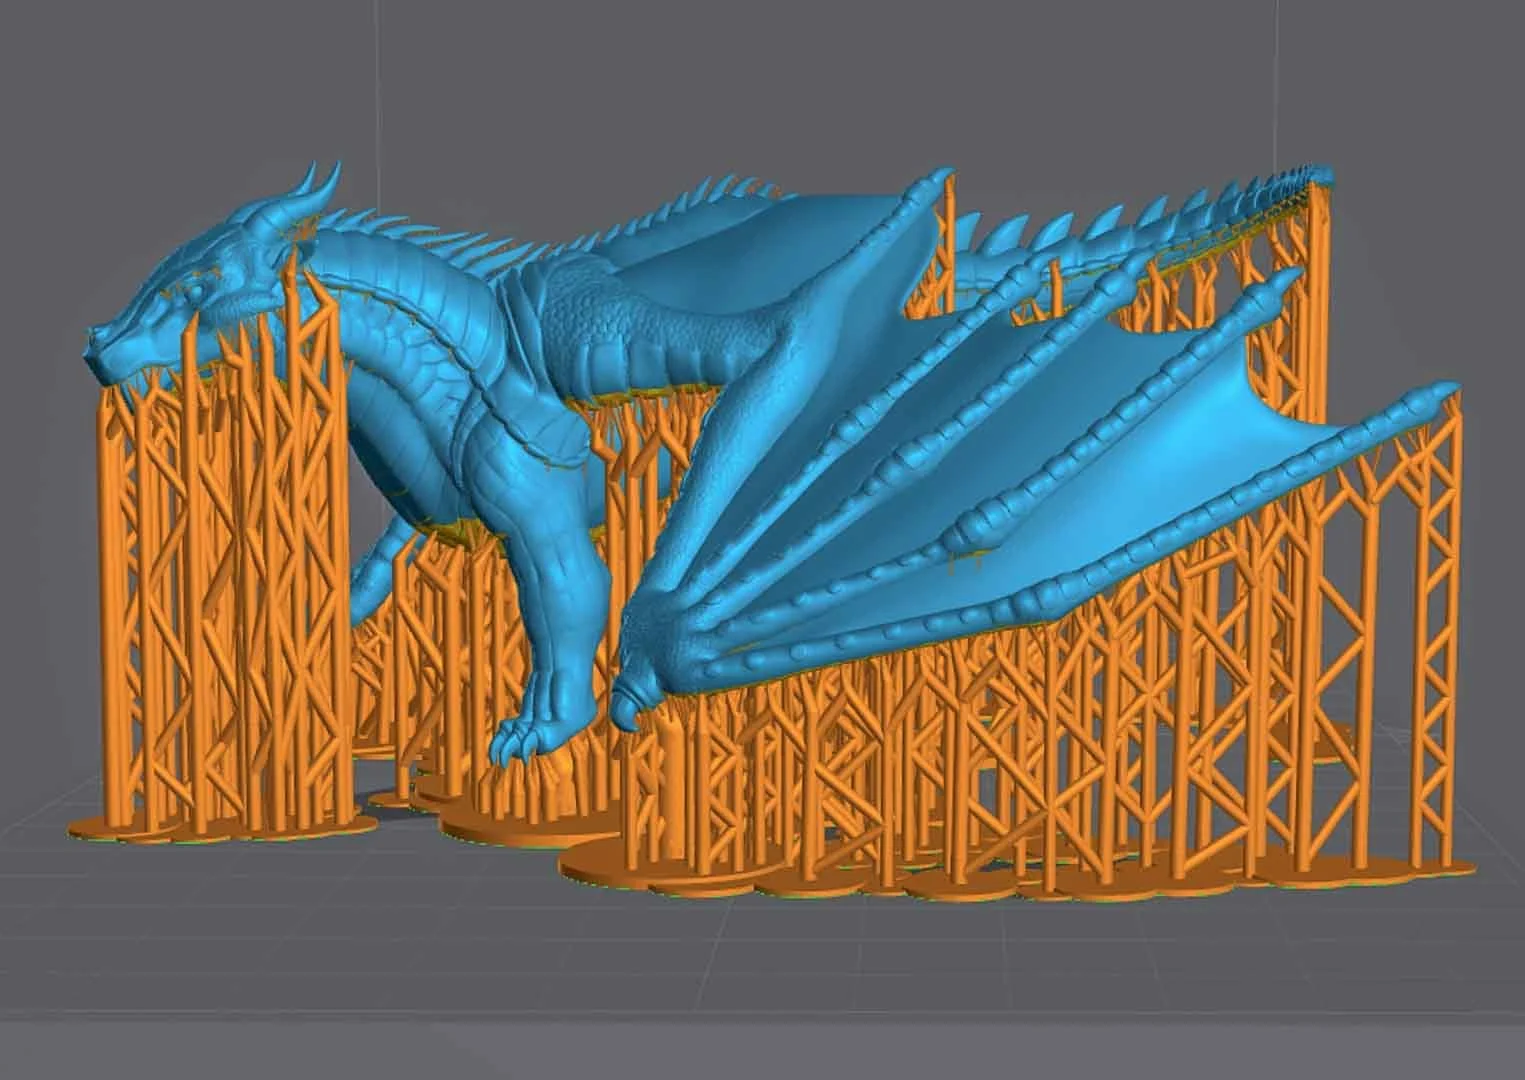
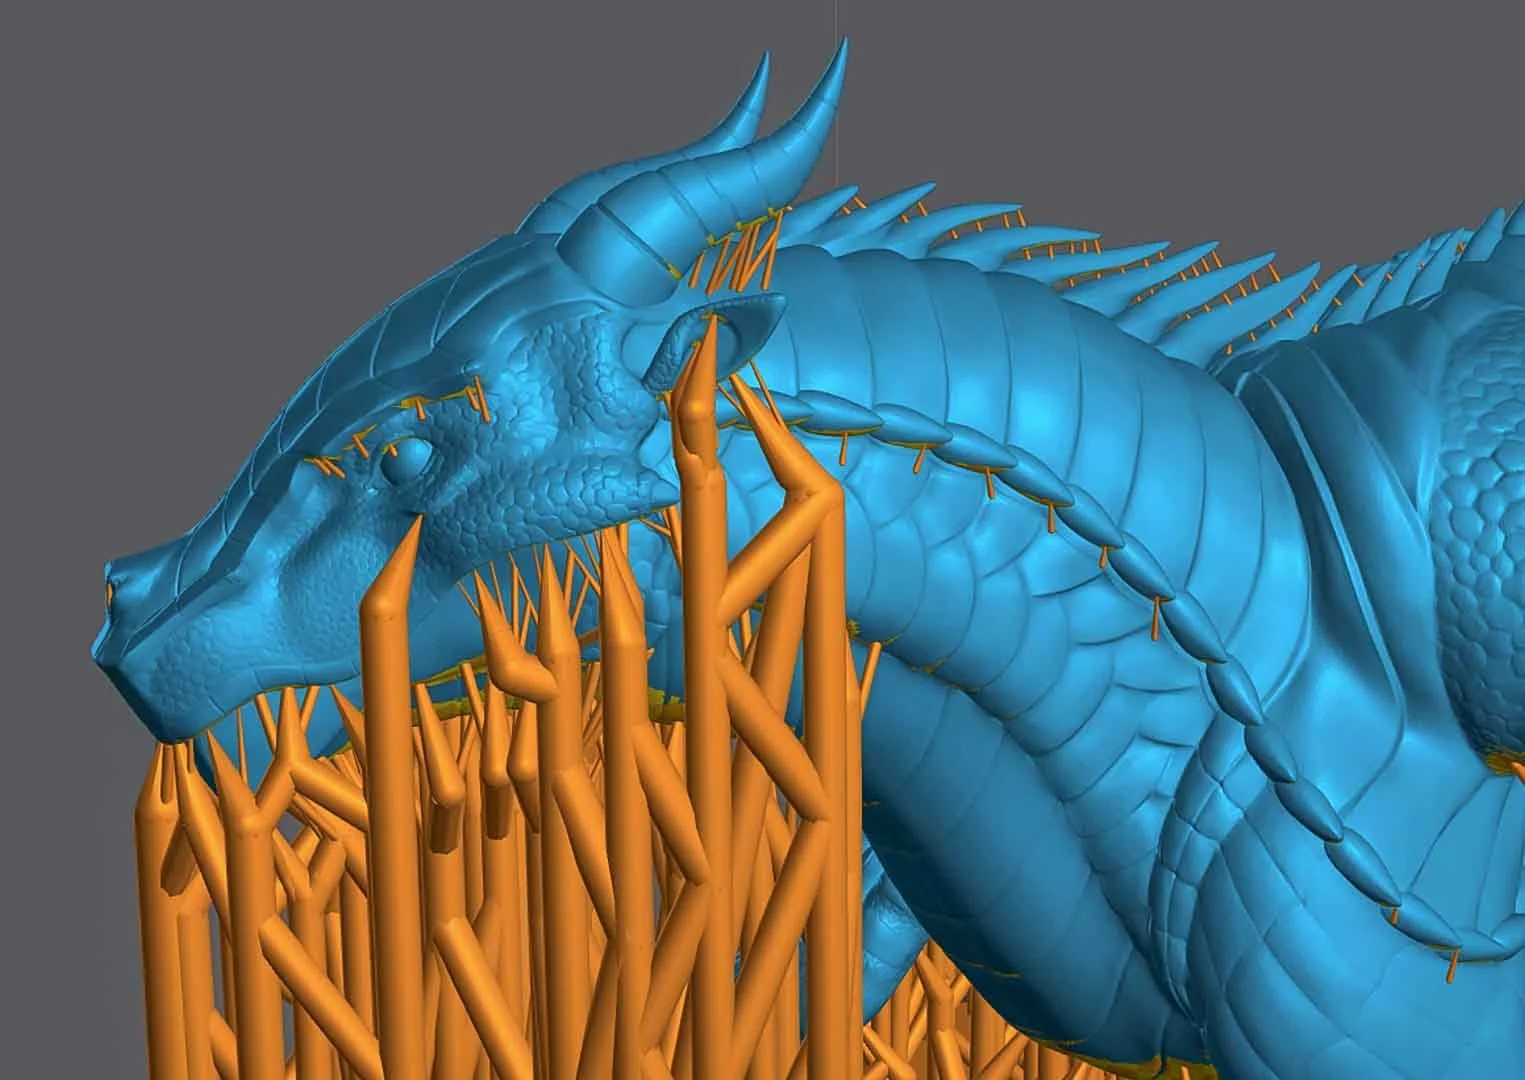
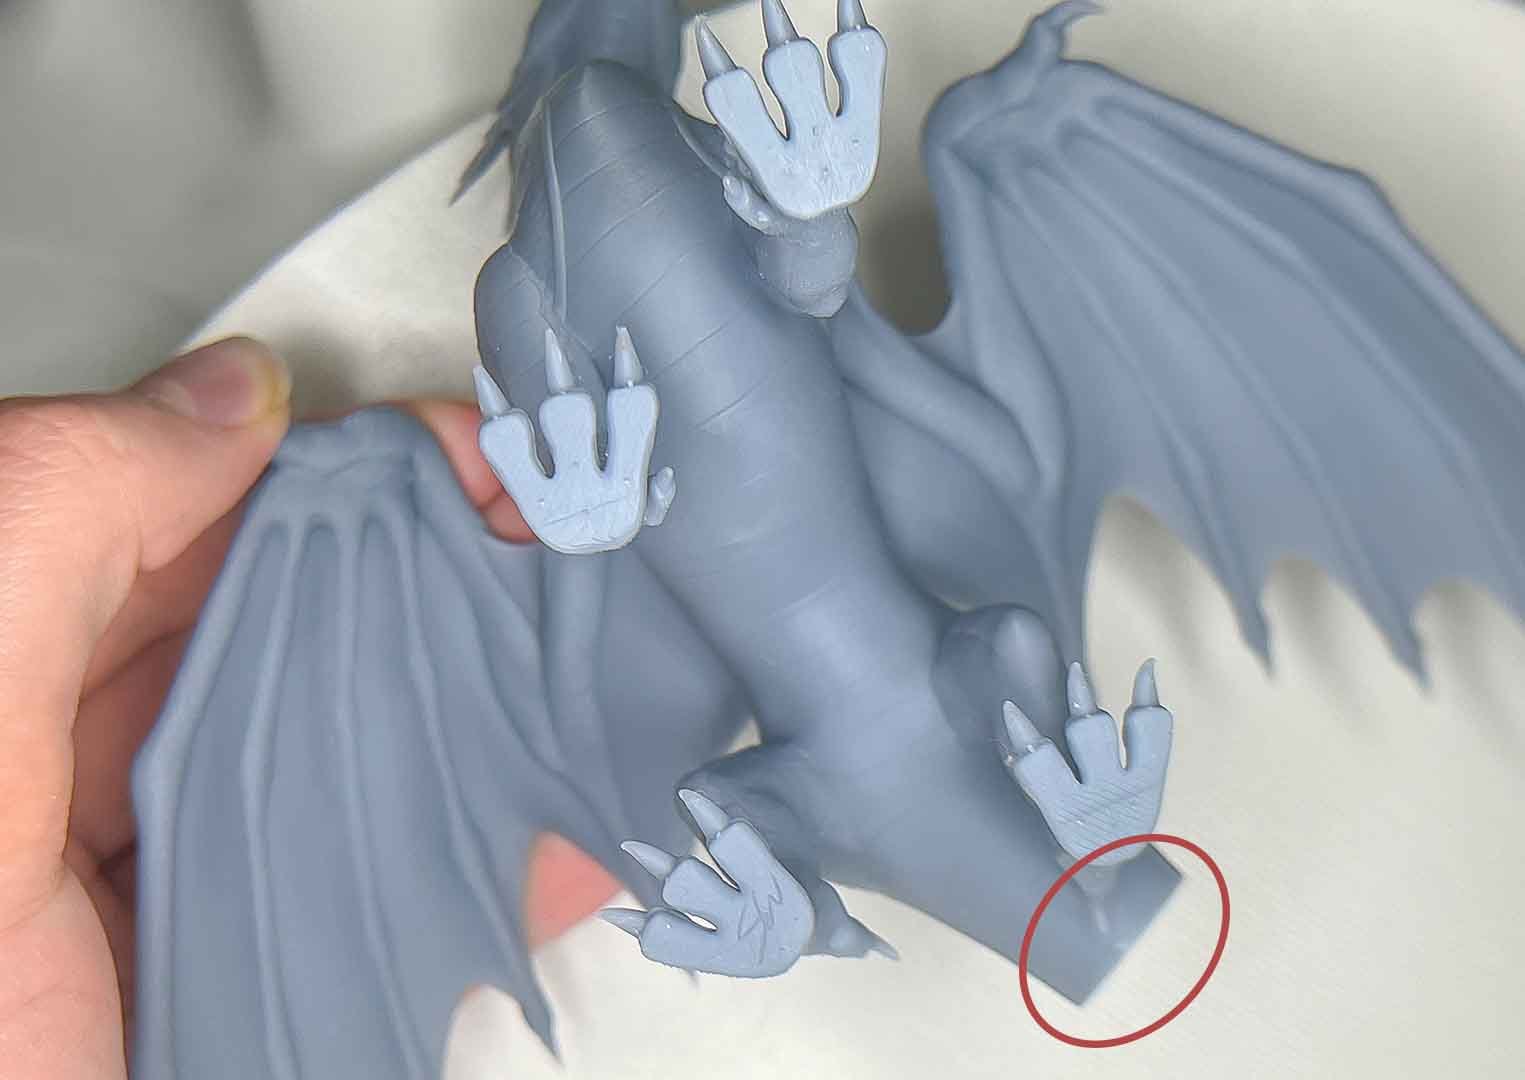
Supporting
I support each dragon with a hybrid of hand work and semi-automation with Lychee Slicer and a custom Blender plugin.
With this approach I am able to utilize the strengths of each method without the weakness.
Semi-Automation: Speed and mass.
Hand: Preservation of detail, easily removable structures, and a high print success rate.
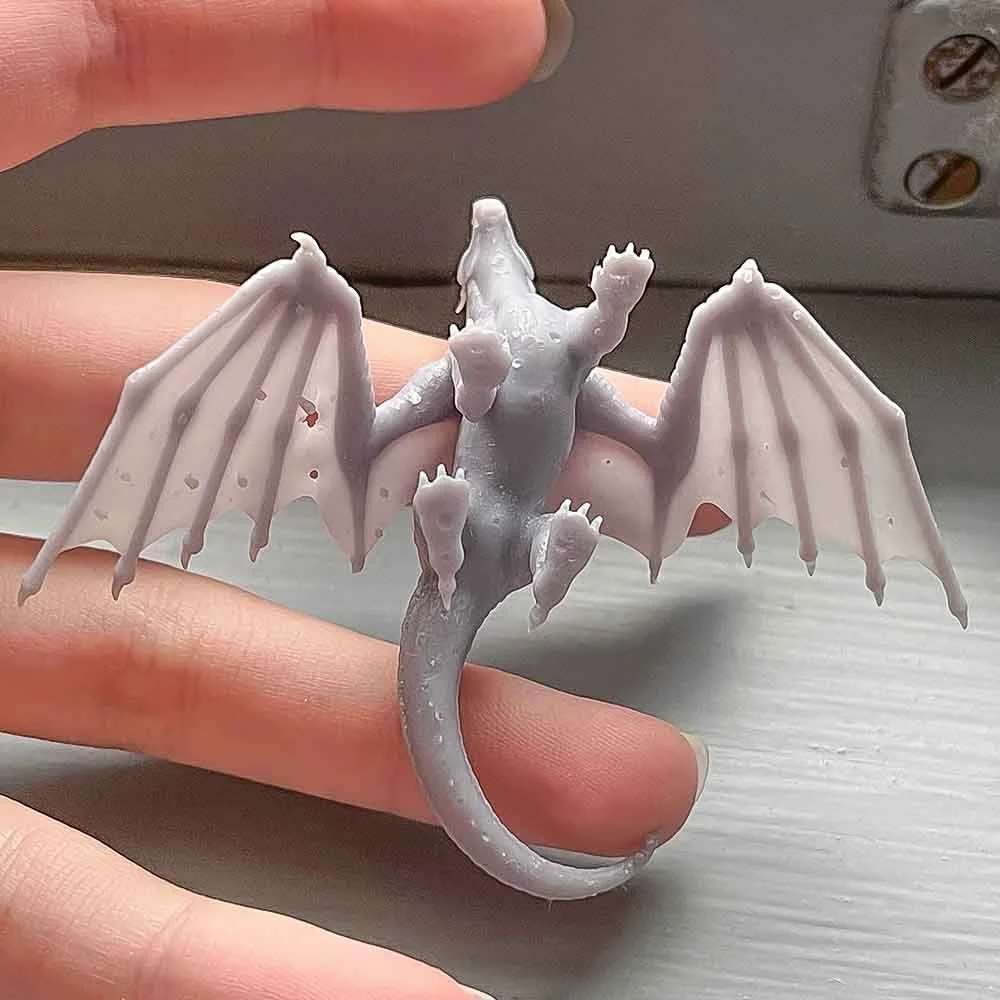
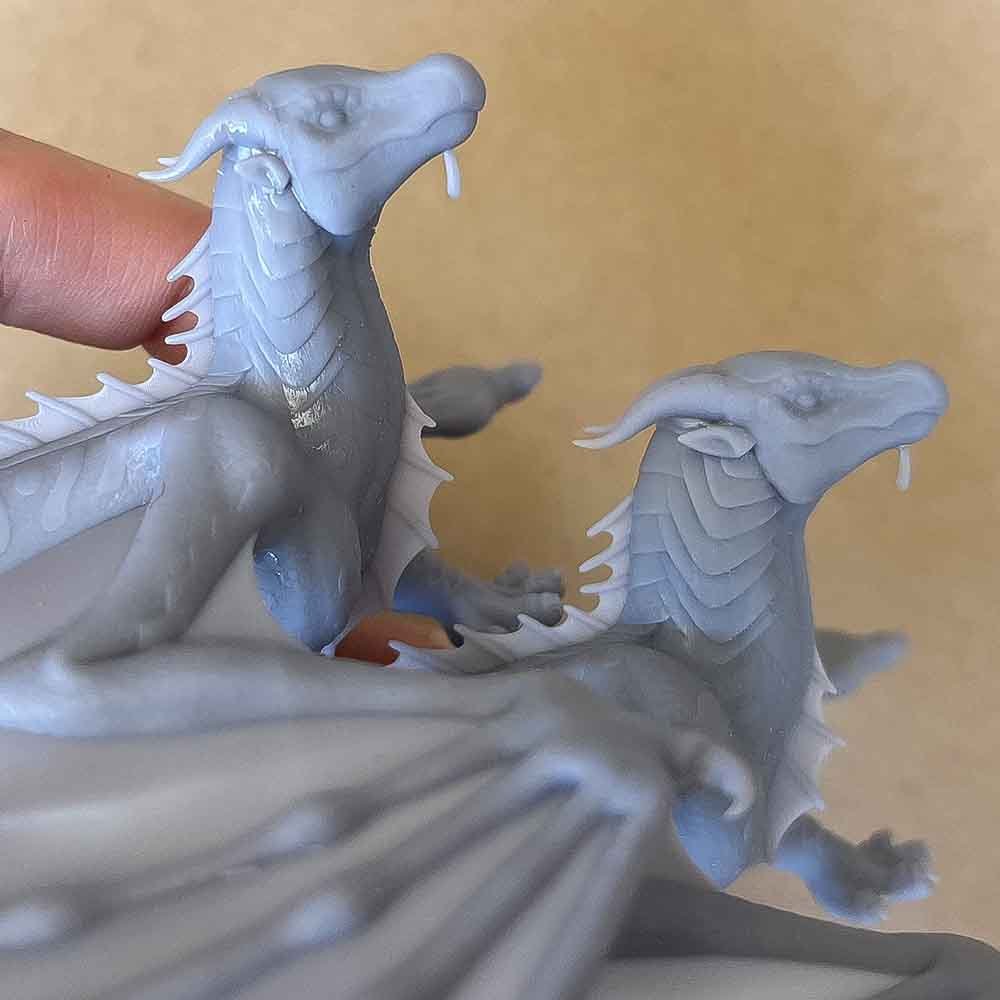
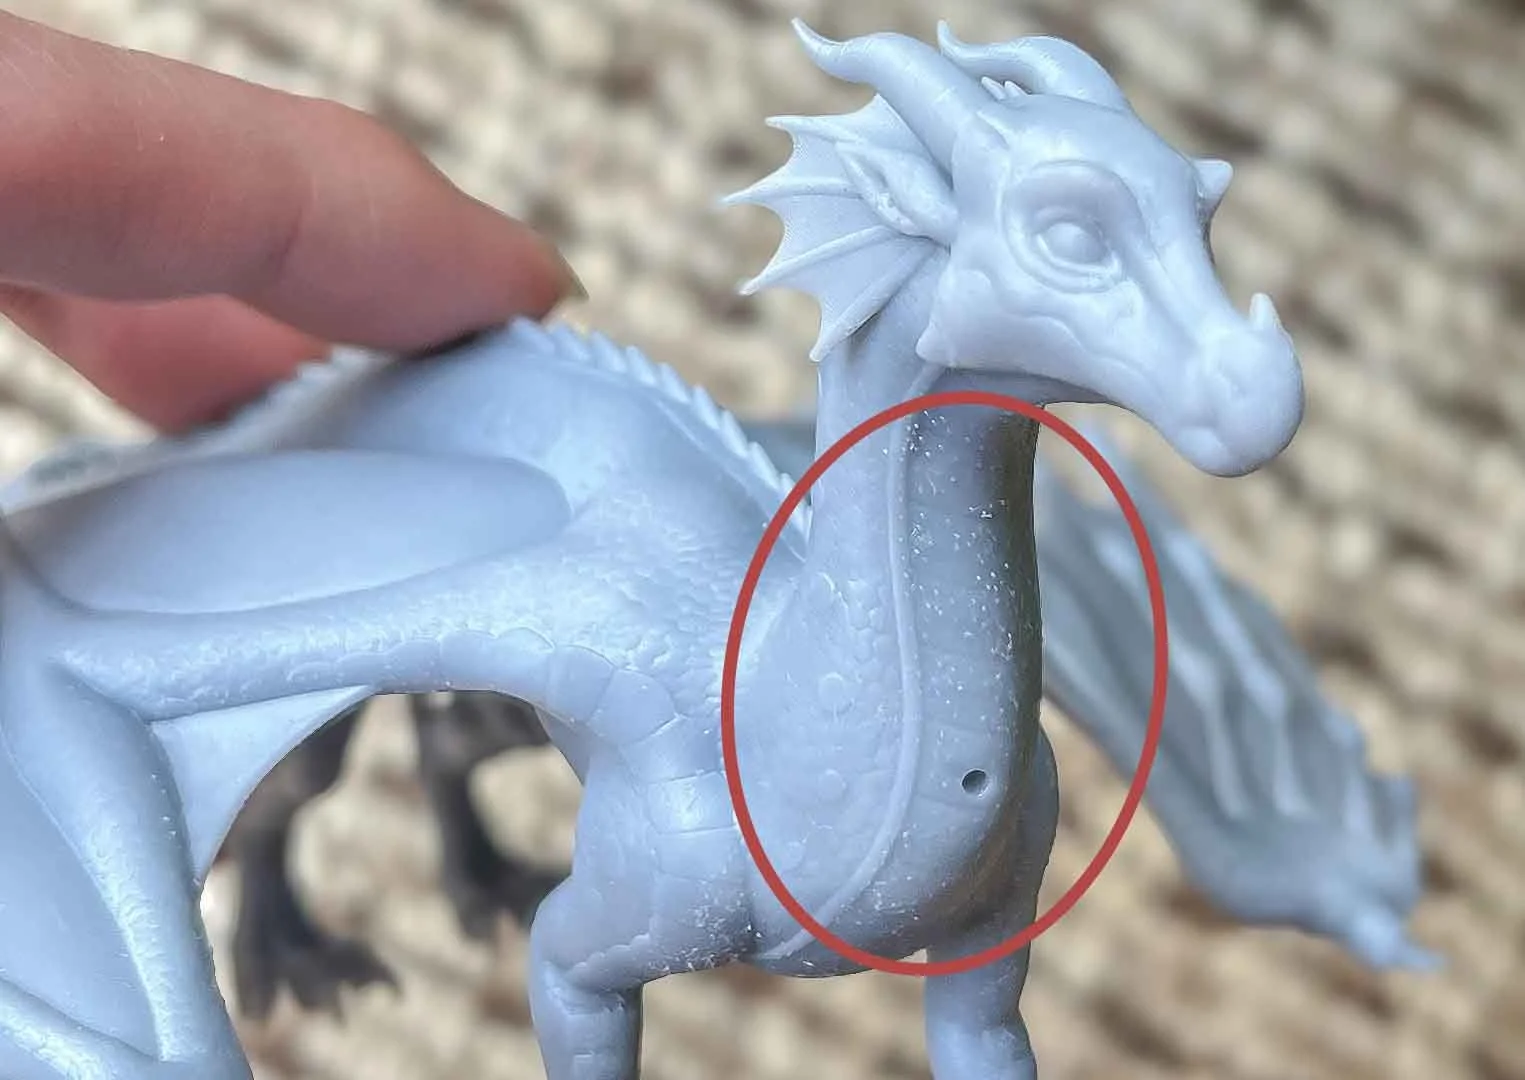
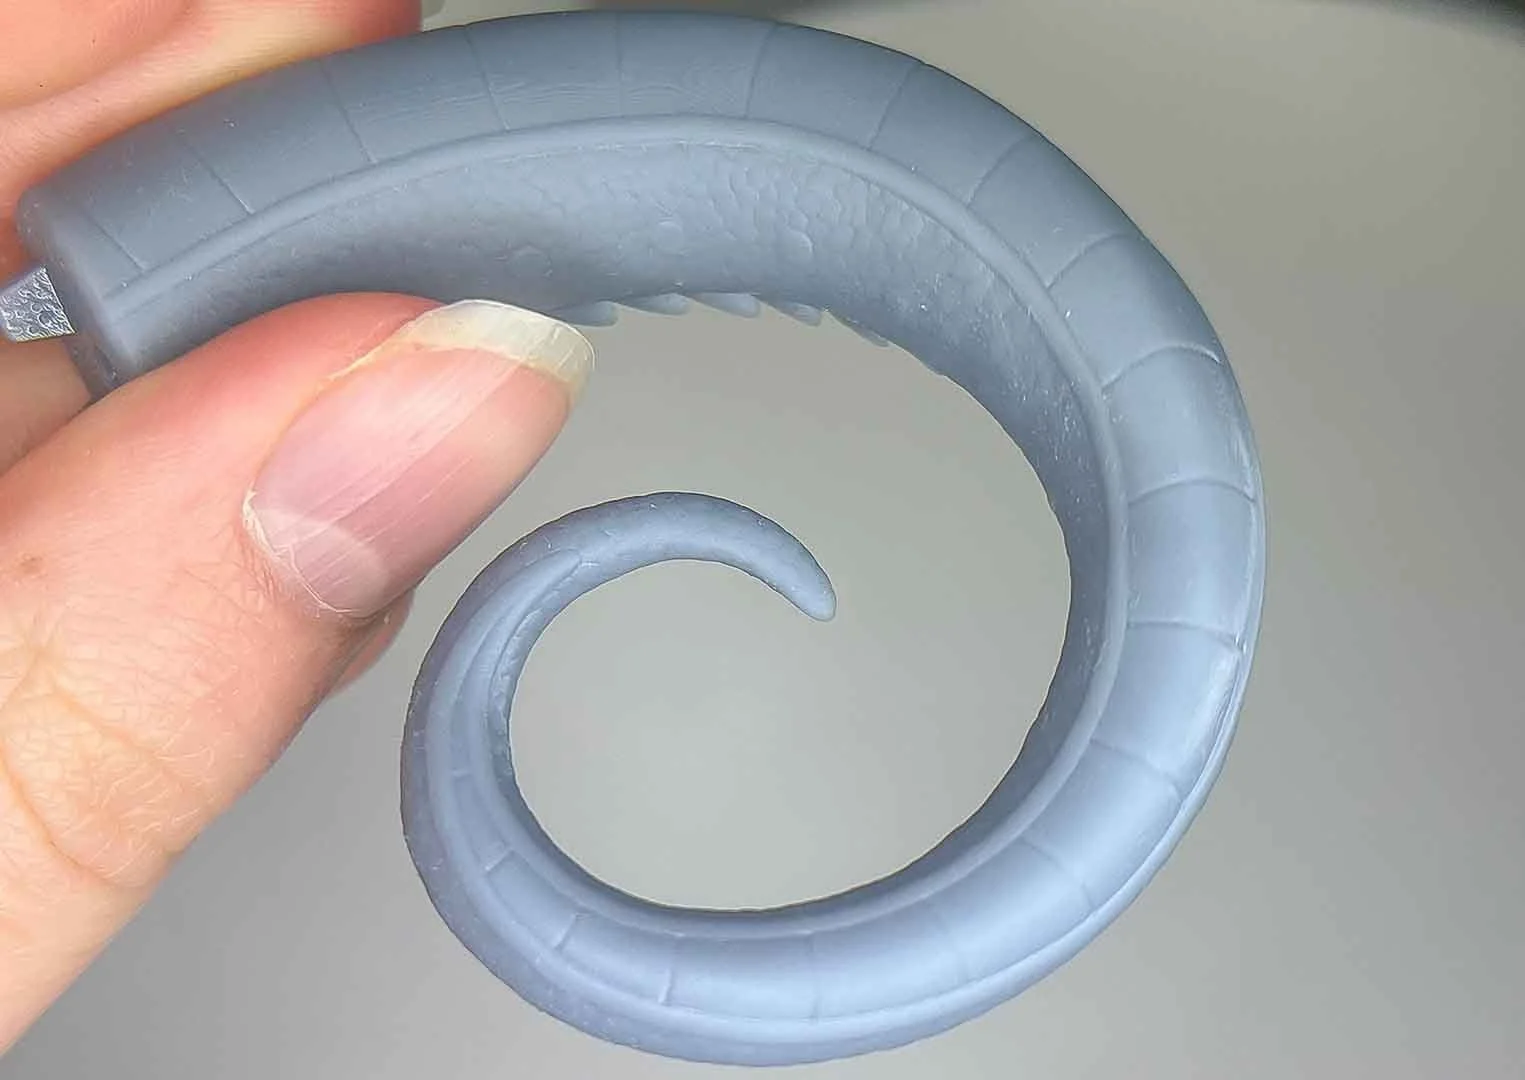
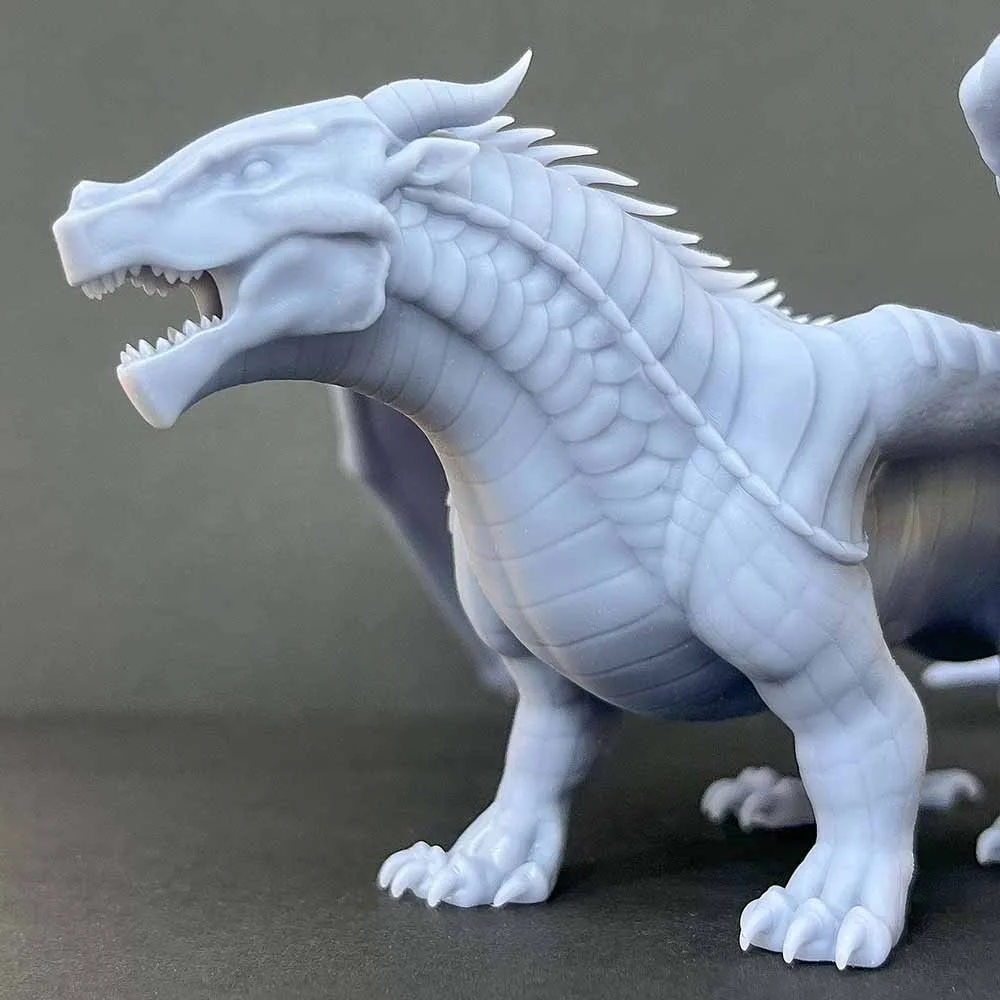
Printing & Post Processing
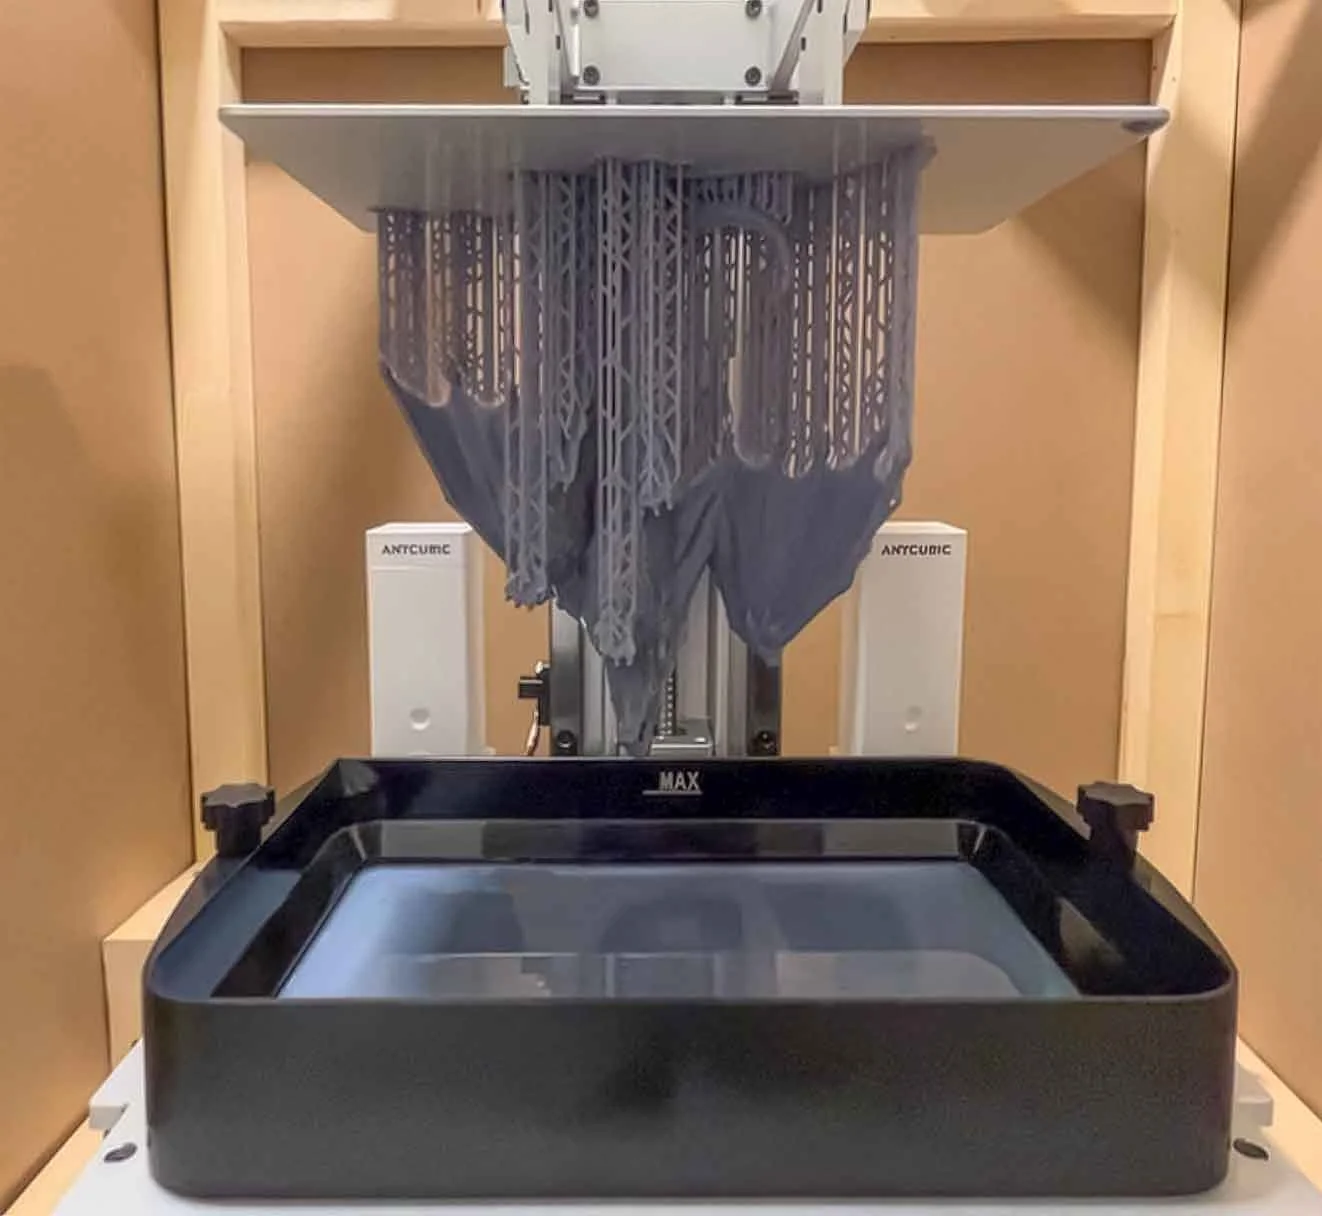
Completed 3D resin print
Efficient support removal; a benefit of supporting by hand
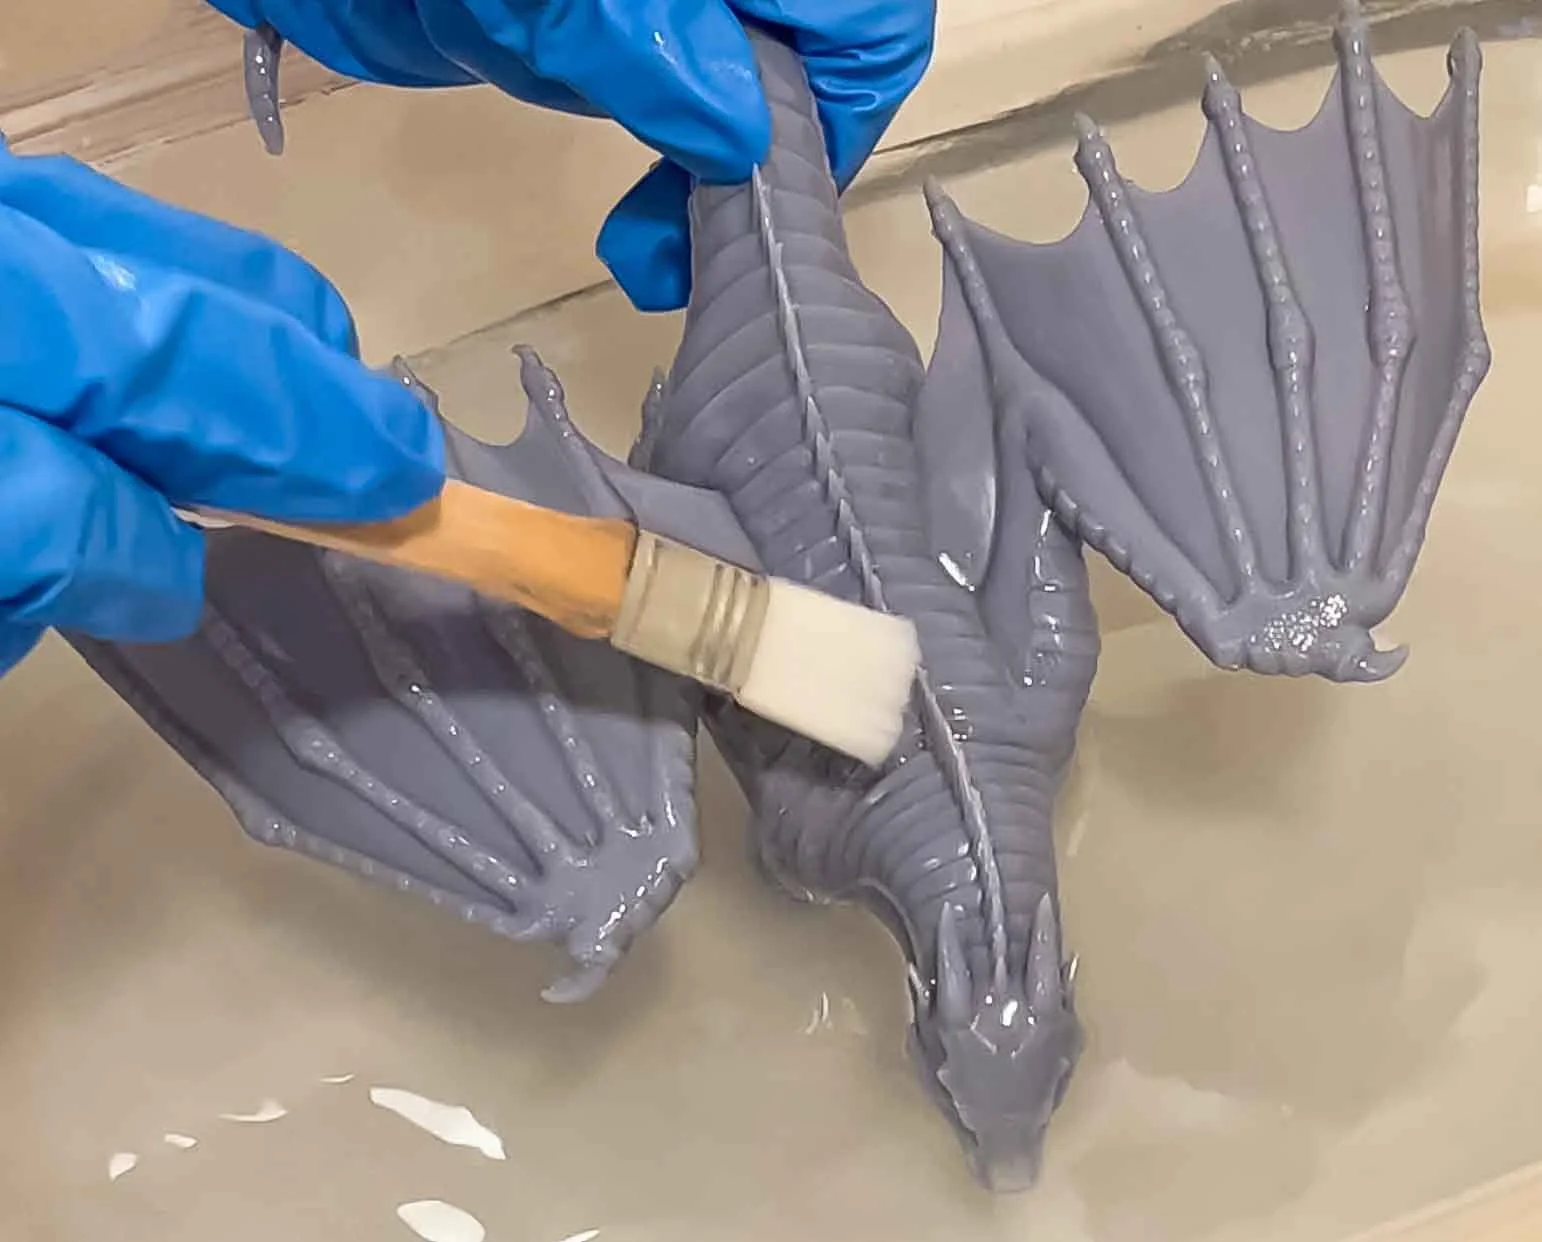
Cleaning off excess resin
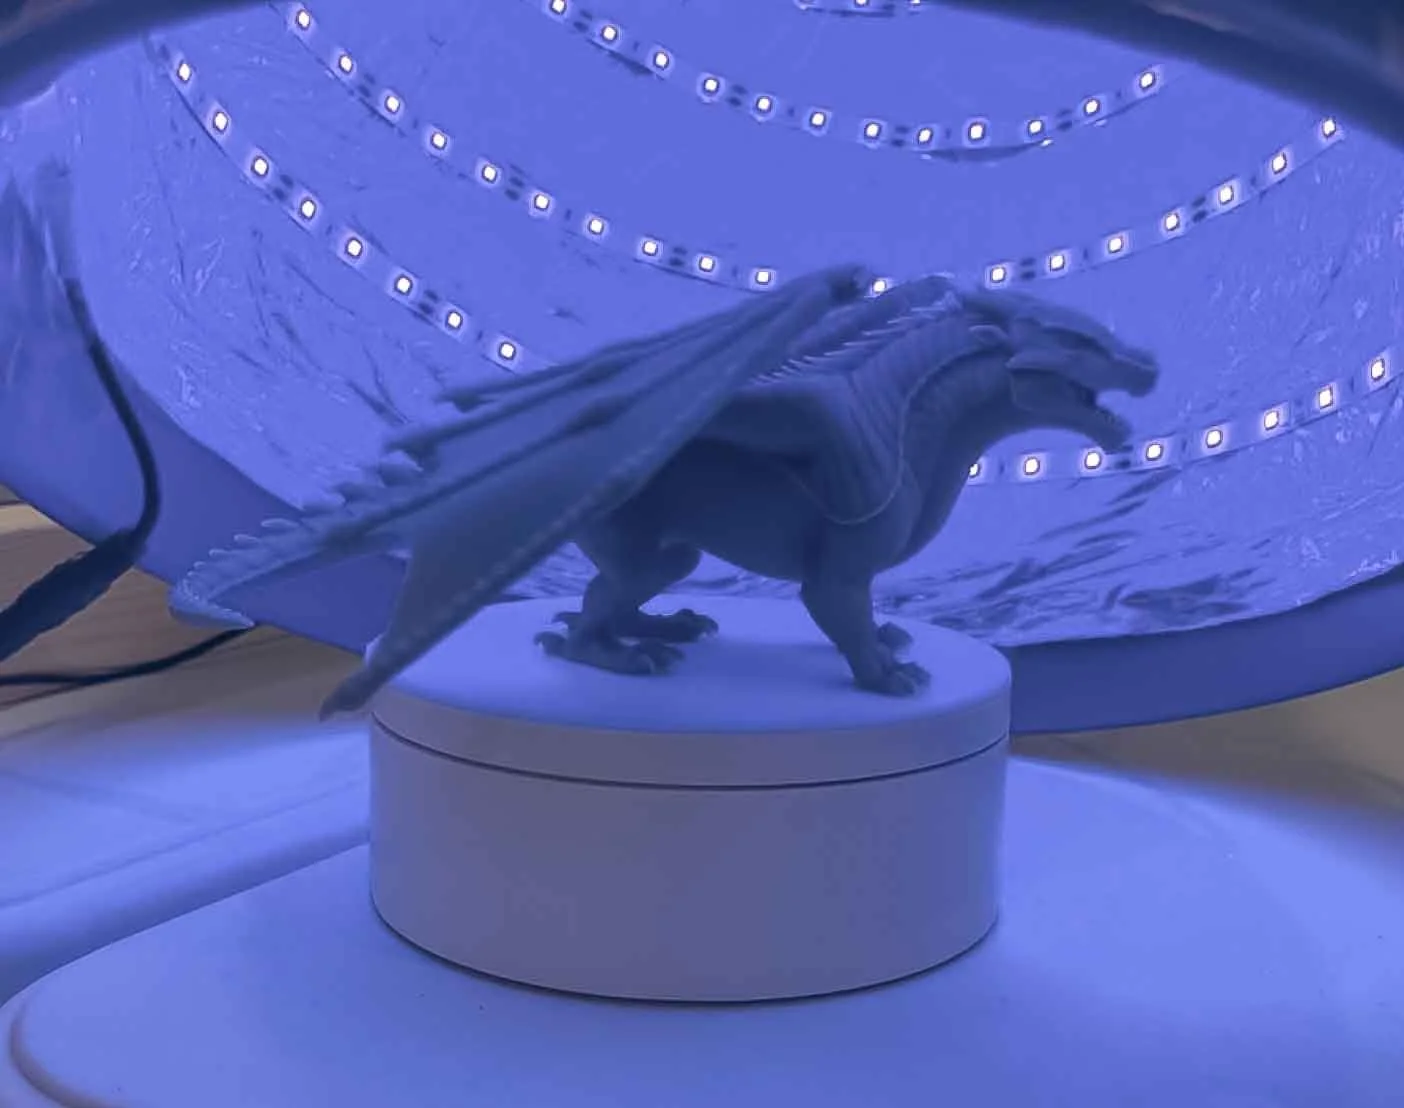
UV curing
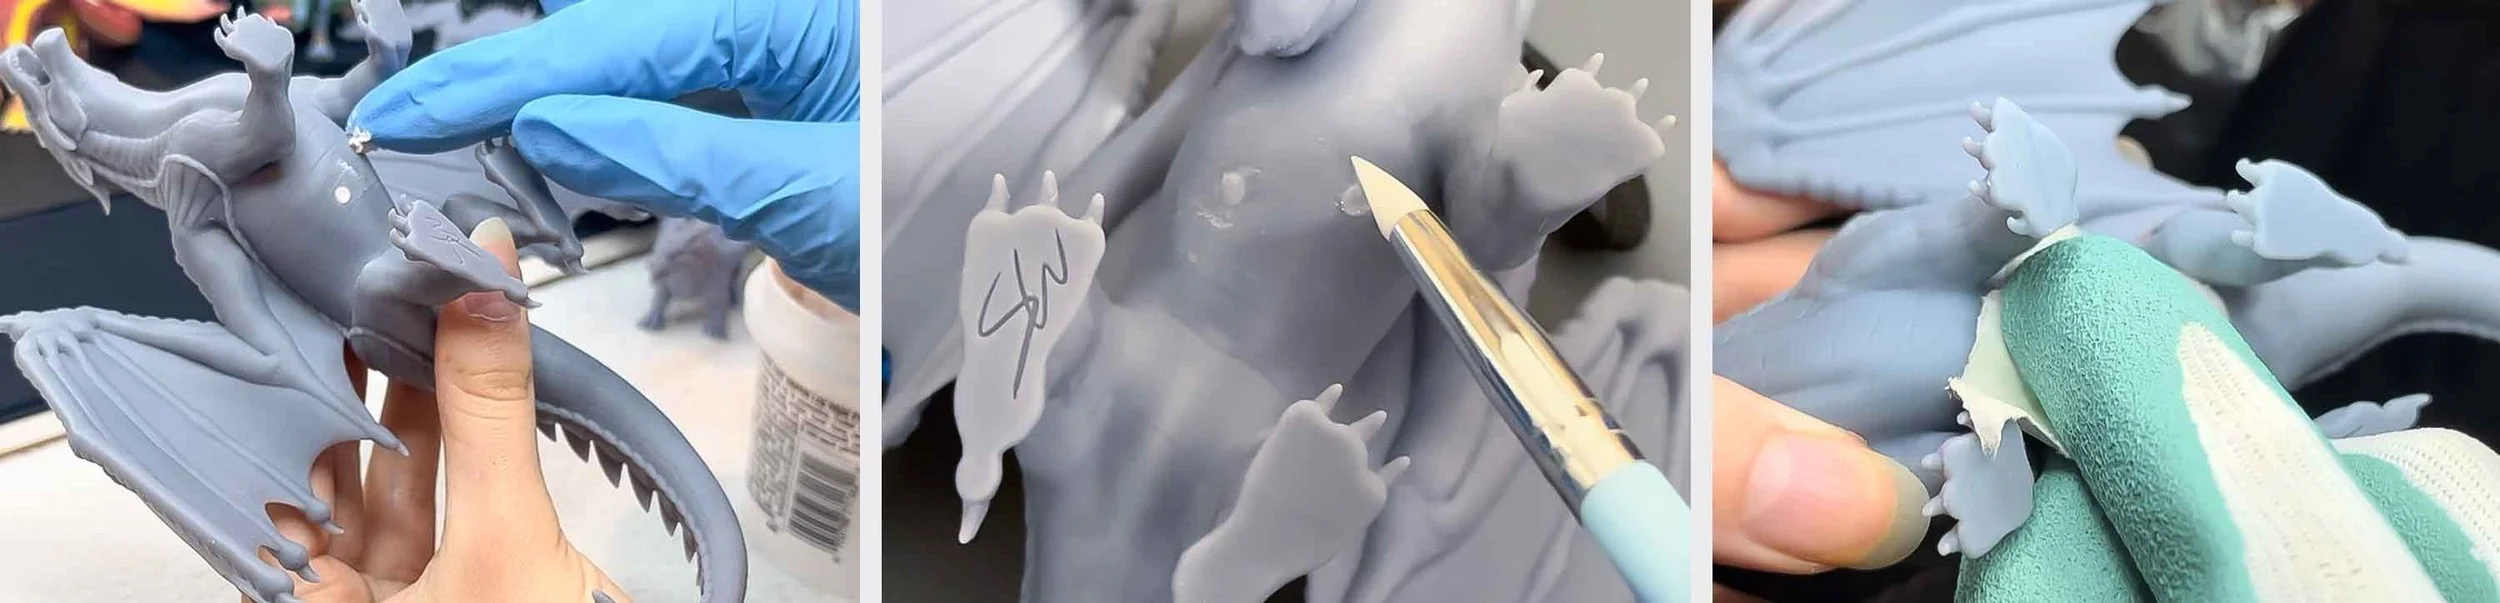
Drain hole filling, Resin covering + curing, Sanding
Video: How I Make 3D Printed Dragons
A complete overview of how I created my dragons.
From starting the sculpt in Zbrush, to rigging and posing in Blender, returning to Zbrush for cleanup and print-ready prep, supporting the model in Lychee Slicer, 3D printing, and finishing with post processing.
Video: Rainwing | WoF Speedsculpt
A full timelapse of my sculpting process in Zbrush for my best selling figure, the Rainwing dragon tribe, from Wings of Fire.
Early versions
Challenges & Problem Solving
Balancing 3D Printing Speed & Detail Preservation
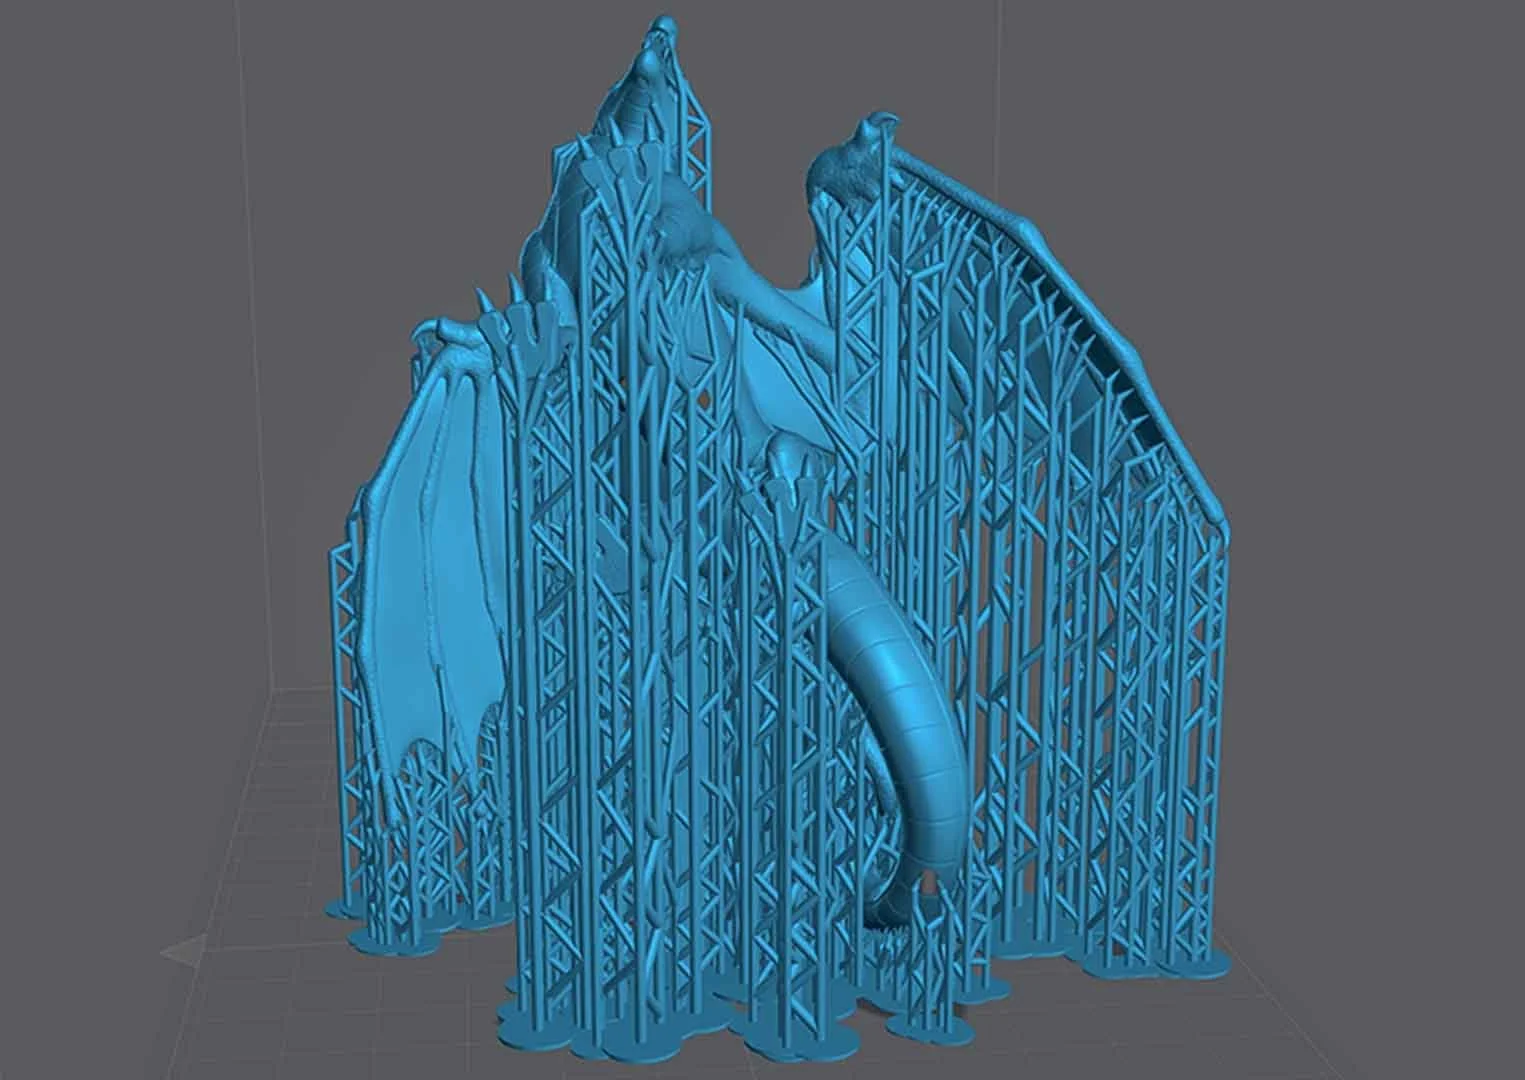
Initially I supported the figures in a neutral semi-upright position as shown below.
While the prints could be produced faster (for resin printing, speed is only determined by height) I was losing lots of significant detail by having supports over vast areas of my dragon.
Even though this will print faster, if I could orient it in a way where I could fit more dragons at once, at the cost of some speed, that would create a more efficient production.
So I tried a different angle…
This way I could print multiple dragons at once, and I had less overall area of support structures on my model. However, the most important part of the model is the front & face, as these are the sides we display and are drawn to view.
With my structures all over these areas, by the time I remove and clean the print all my sculpted details will be lost. No amount of sanding can save destructed detail.
I needed a balance of detail preservation and print efficiency…
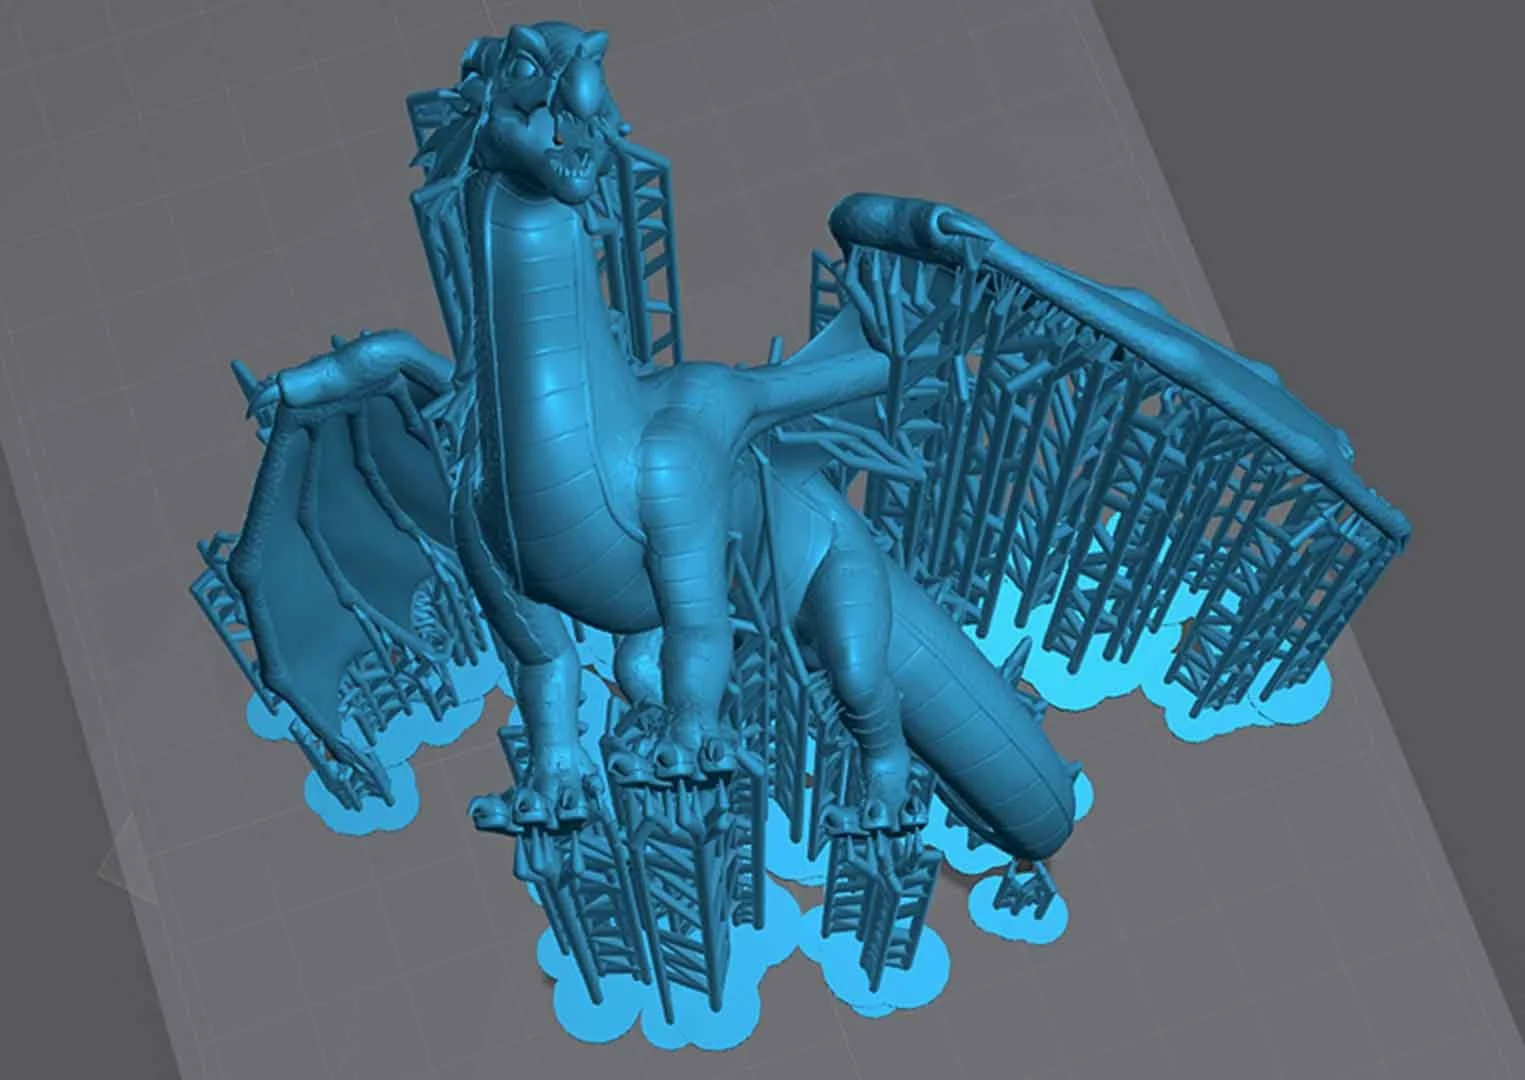
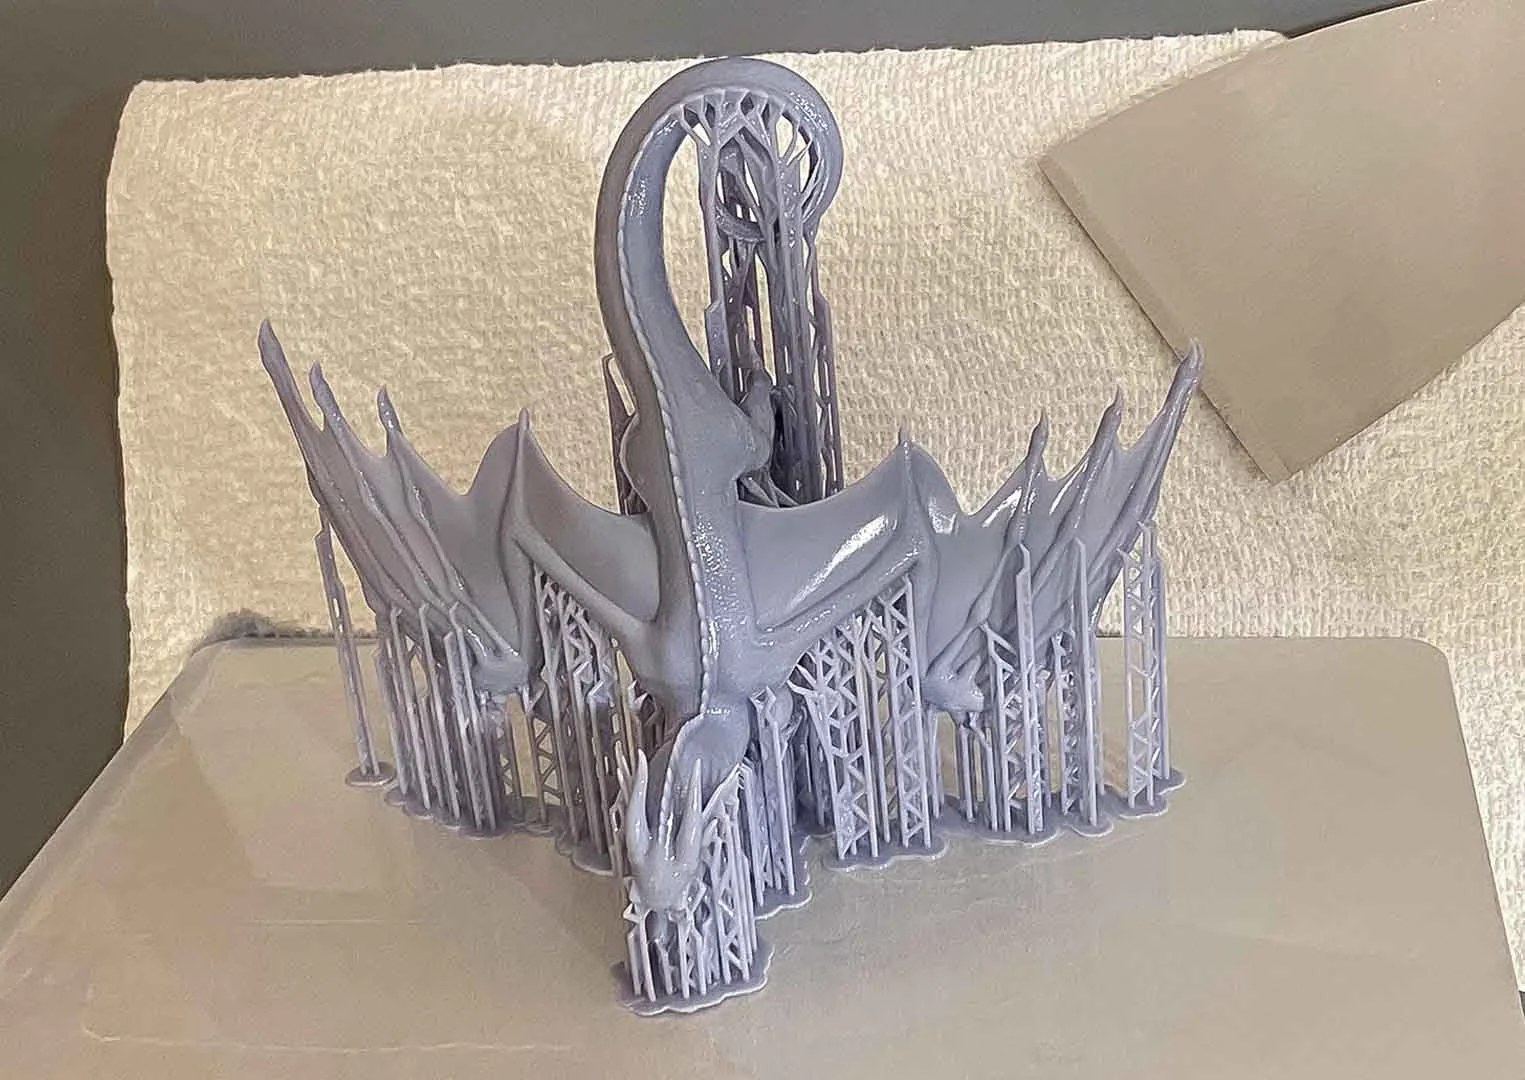
Found it! All support structures connect to less visible areas of the print (back of legs, bottom of tail and edge of wings) all areas easy to sand and won’t suffer as much from any detail loss. Print speed is increased, but I’m able to print 2 medium dragons at once, and up to 4 small dragons at once. All important detail (face, front, top of wings) is preserved as no supports make contact in these areas.
Separate Parts Print Method
To reduce print time on medium dragons, I tried separating parts off the dragons (wings, tails) to print separately, and attach later in post. With this method I would also be able to hide the drain holes in the sectioned off zones.
In the end, I found that the labour effort and time it took to re-attach the parts and hide the seams was far greater than the extra print time of full parts. In addition, my filling of the seams by hand could not match the quality of a continuous print.
Shipping Detailed + Delicate Figures
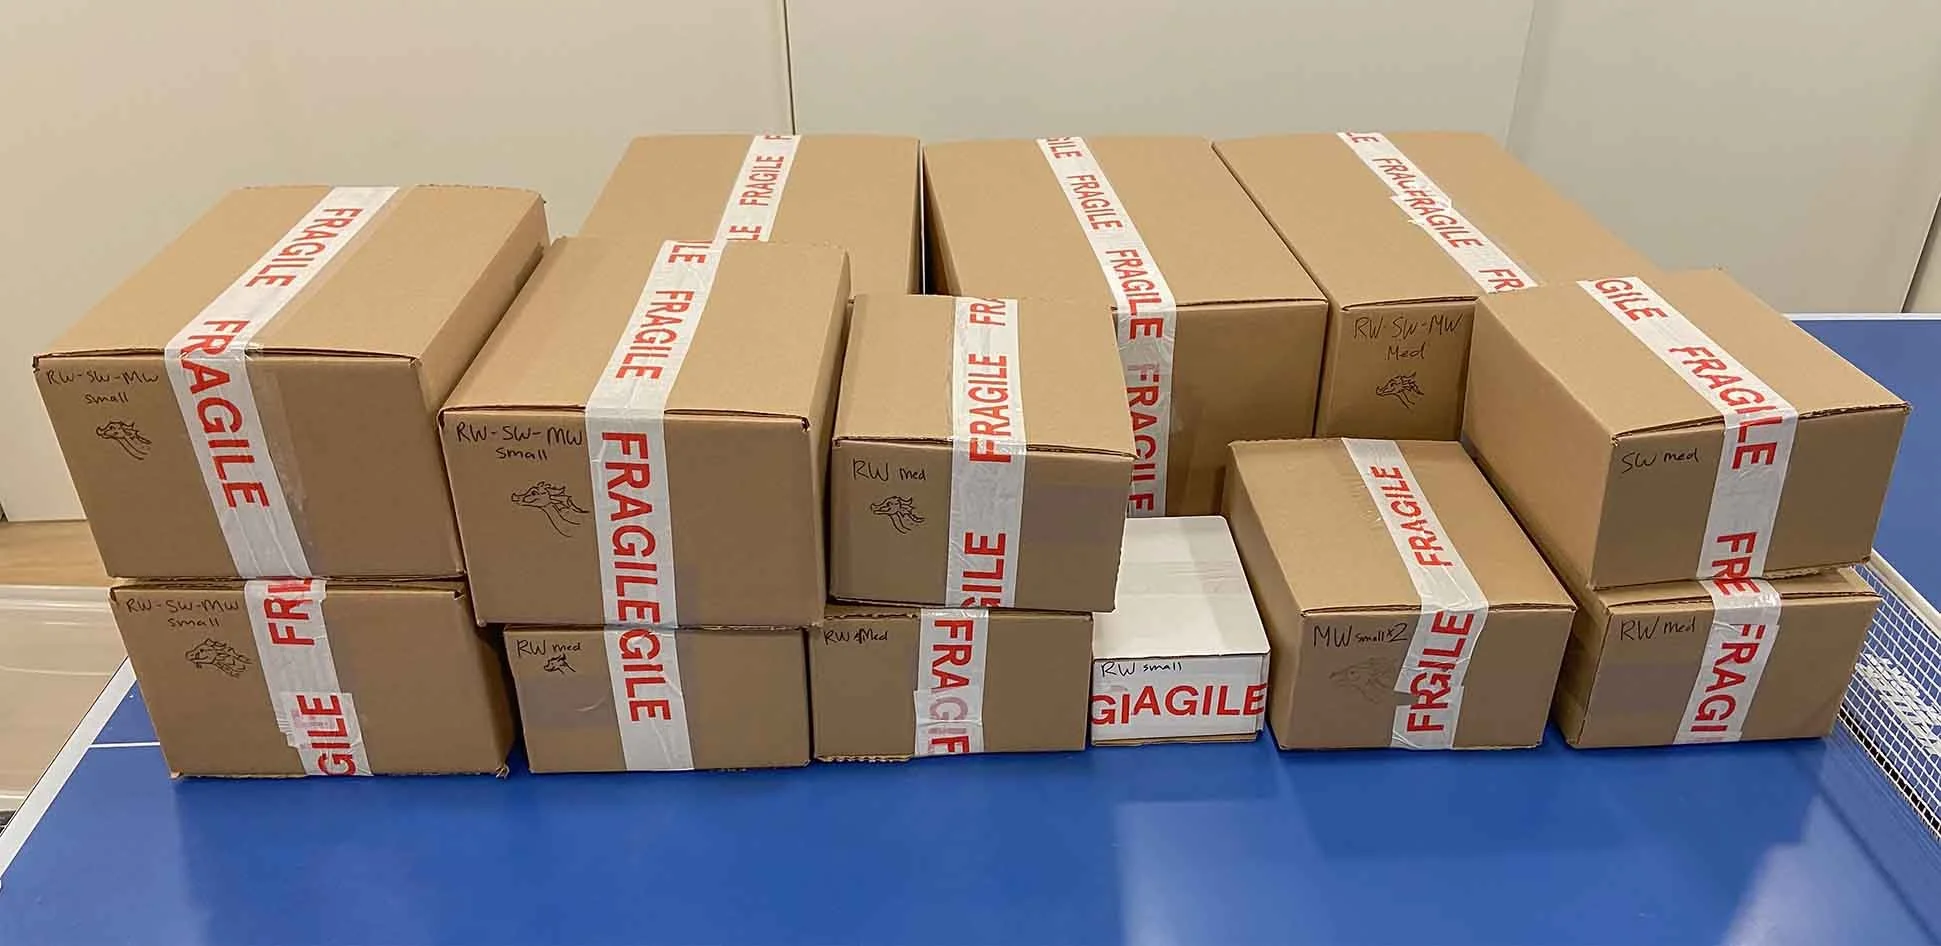
I needed an effective and cost efficient way to ship the prints to my worldwide customers. This resin can be somewhat forgiving with minor pressure, but if dropped breaking will likely occur.
After a trip to the box factory to research shipping methods, many package drop tests, some physics, and a little creativity, my packaging procedure was formed.
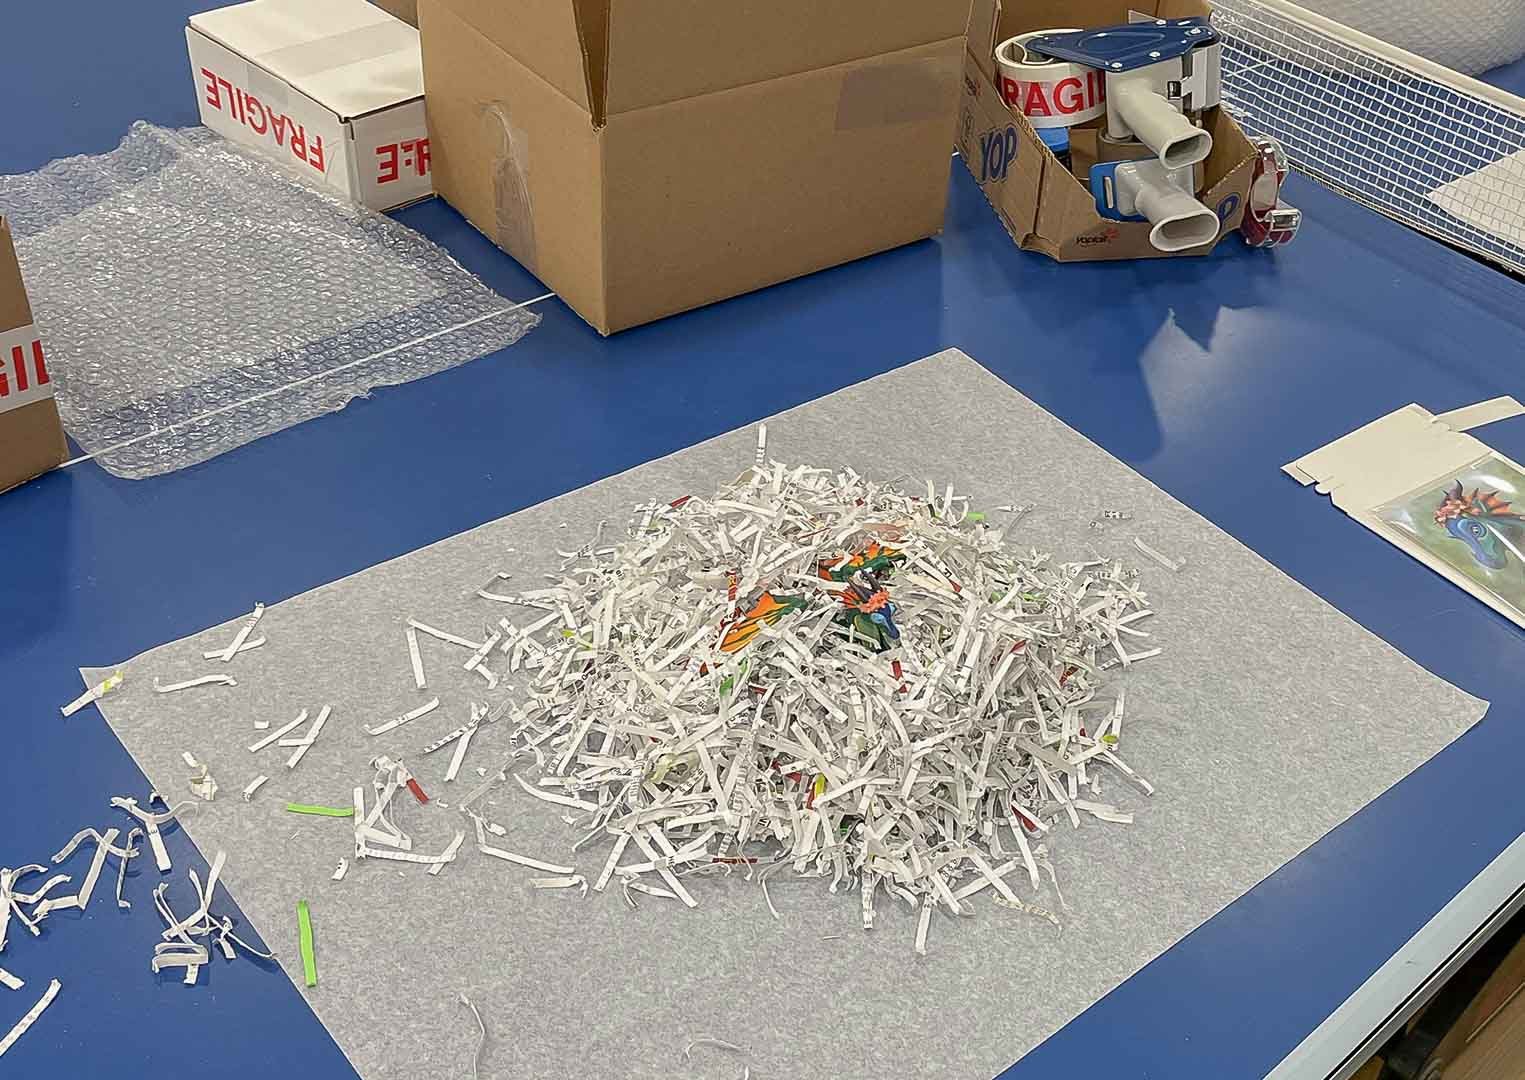
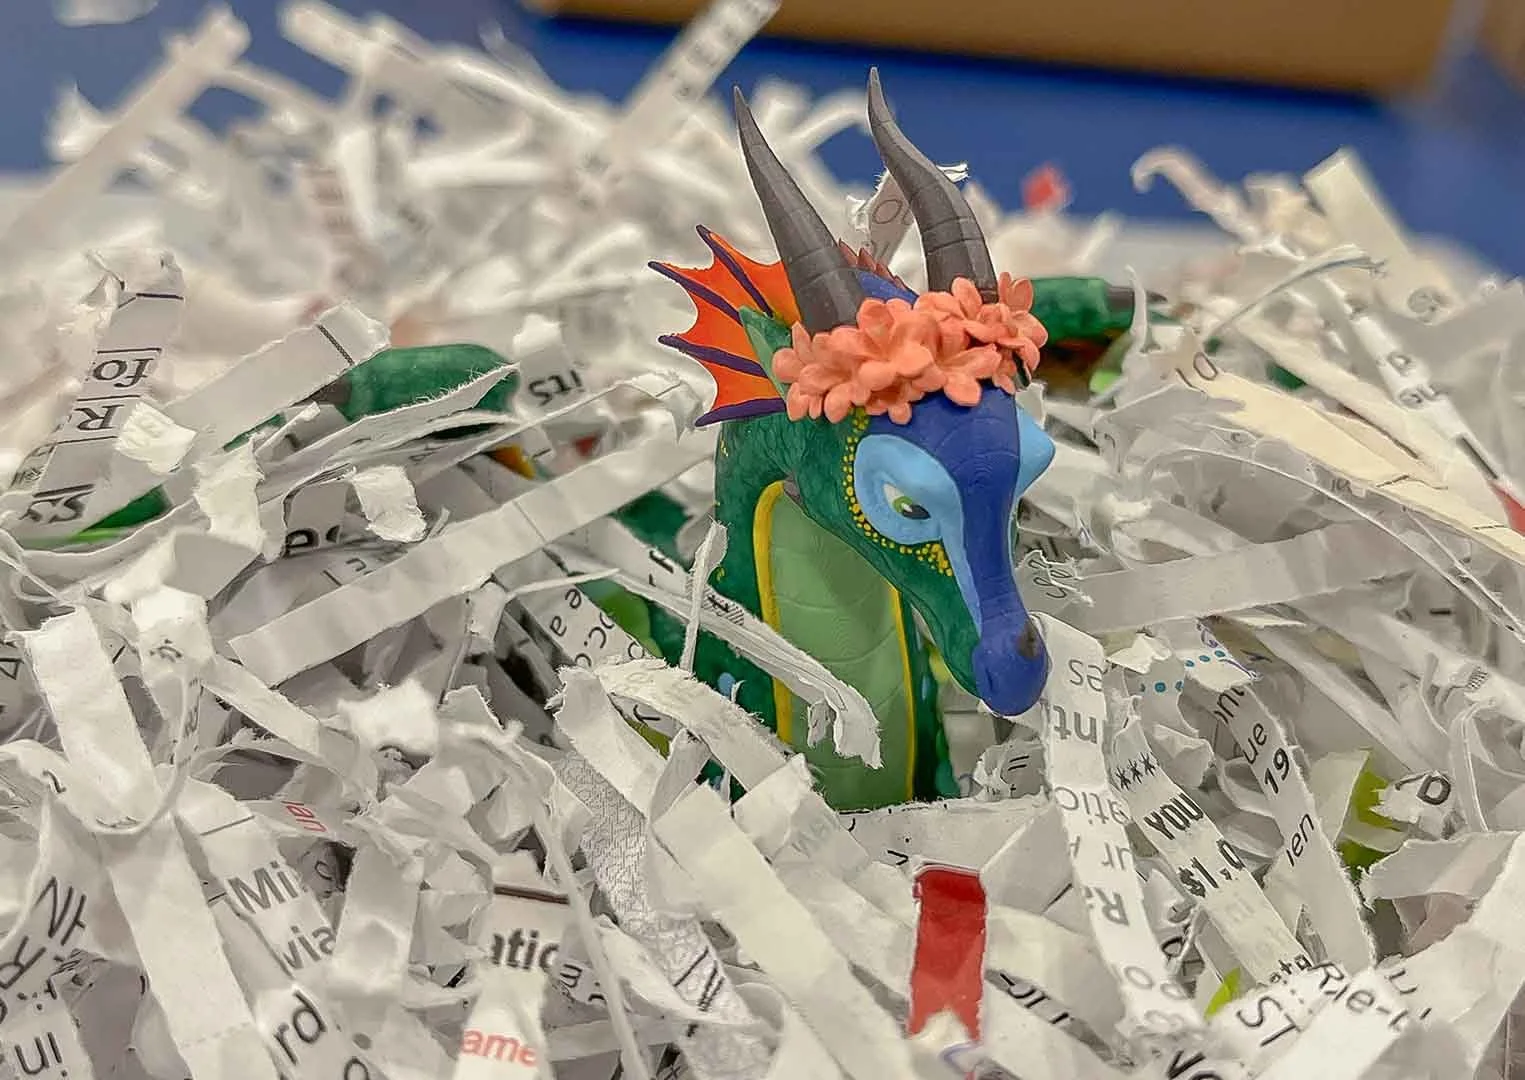
Packaging my dragon figures … First the figure is placed into a nest of paper shreddings, next wrapped in tissue paper, then bubble wrapped. Lastly, it is placed into the box with additional packing paper as an extra space filler to prevent movement & shifting as needed.
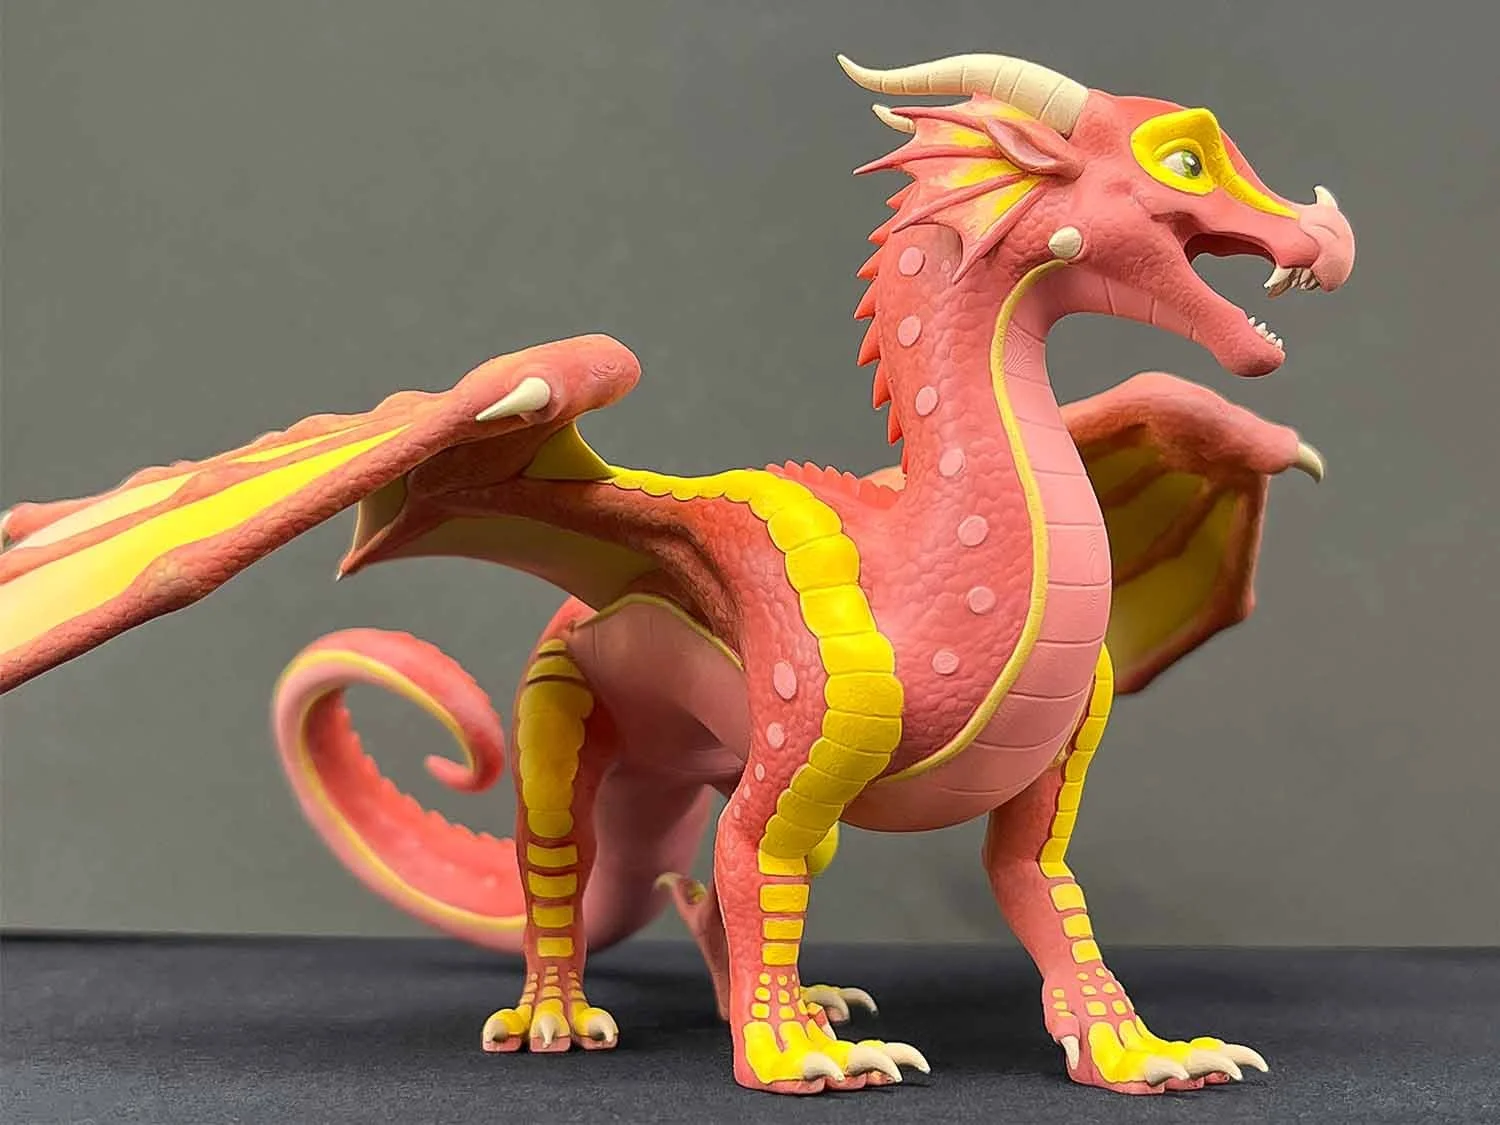
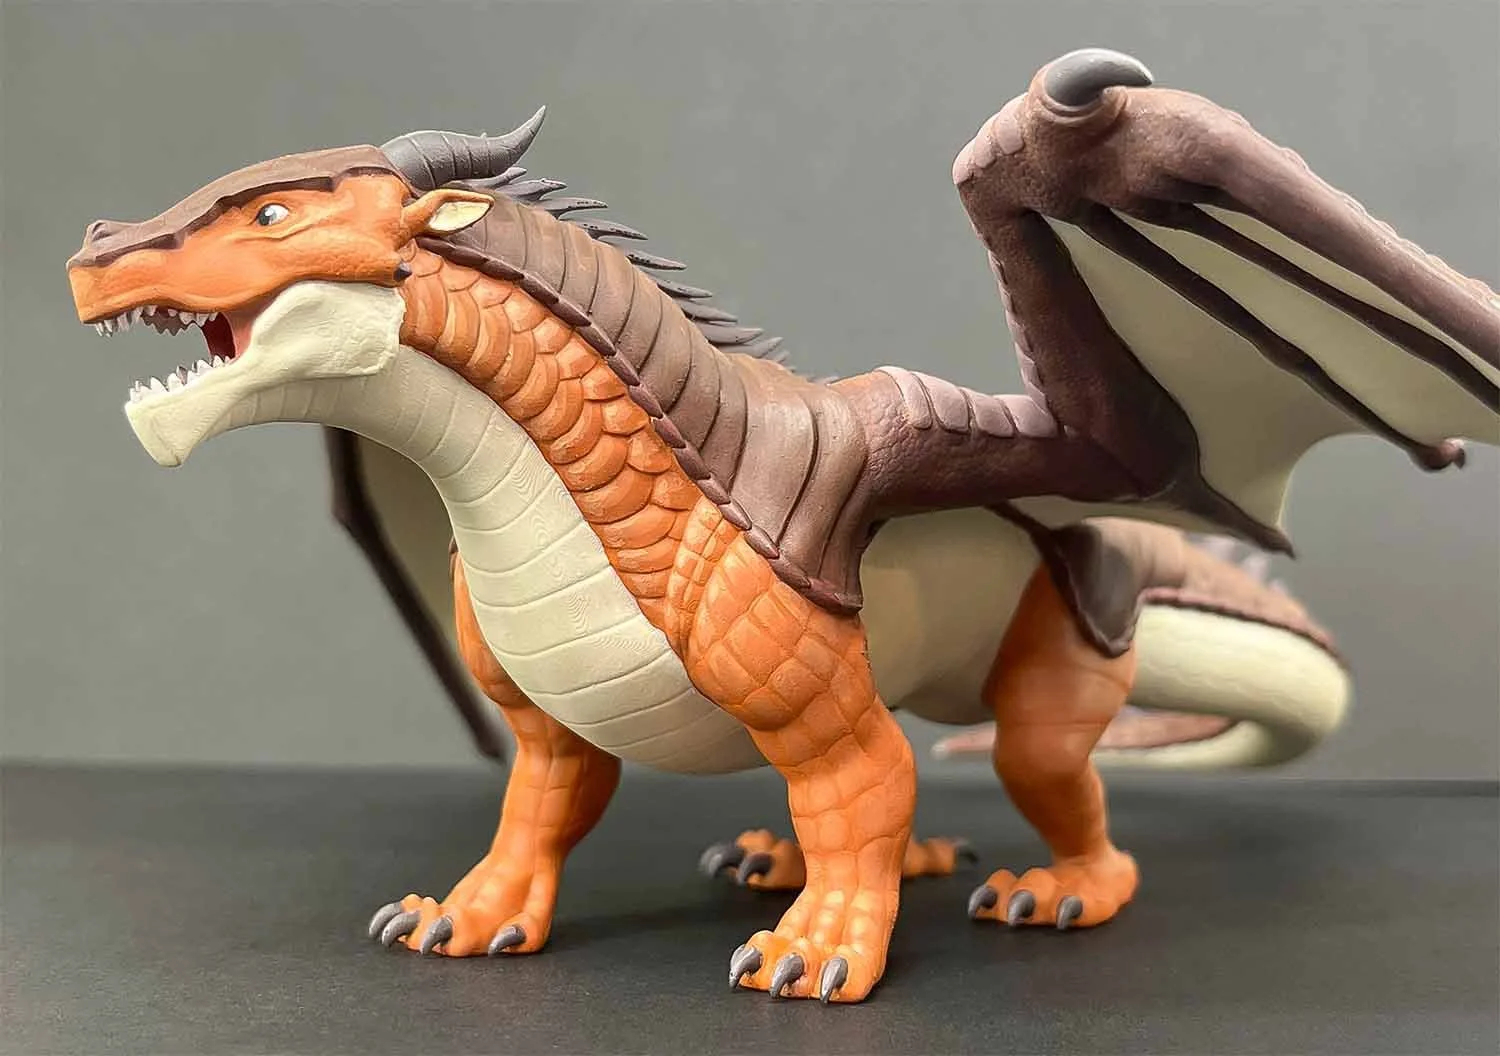
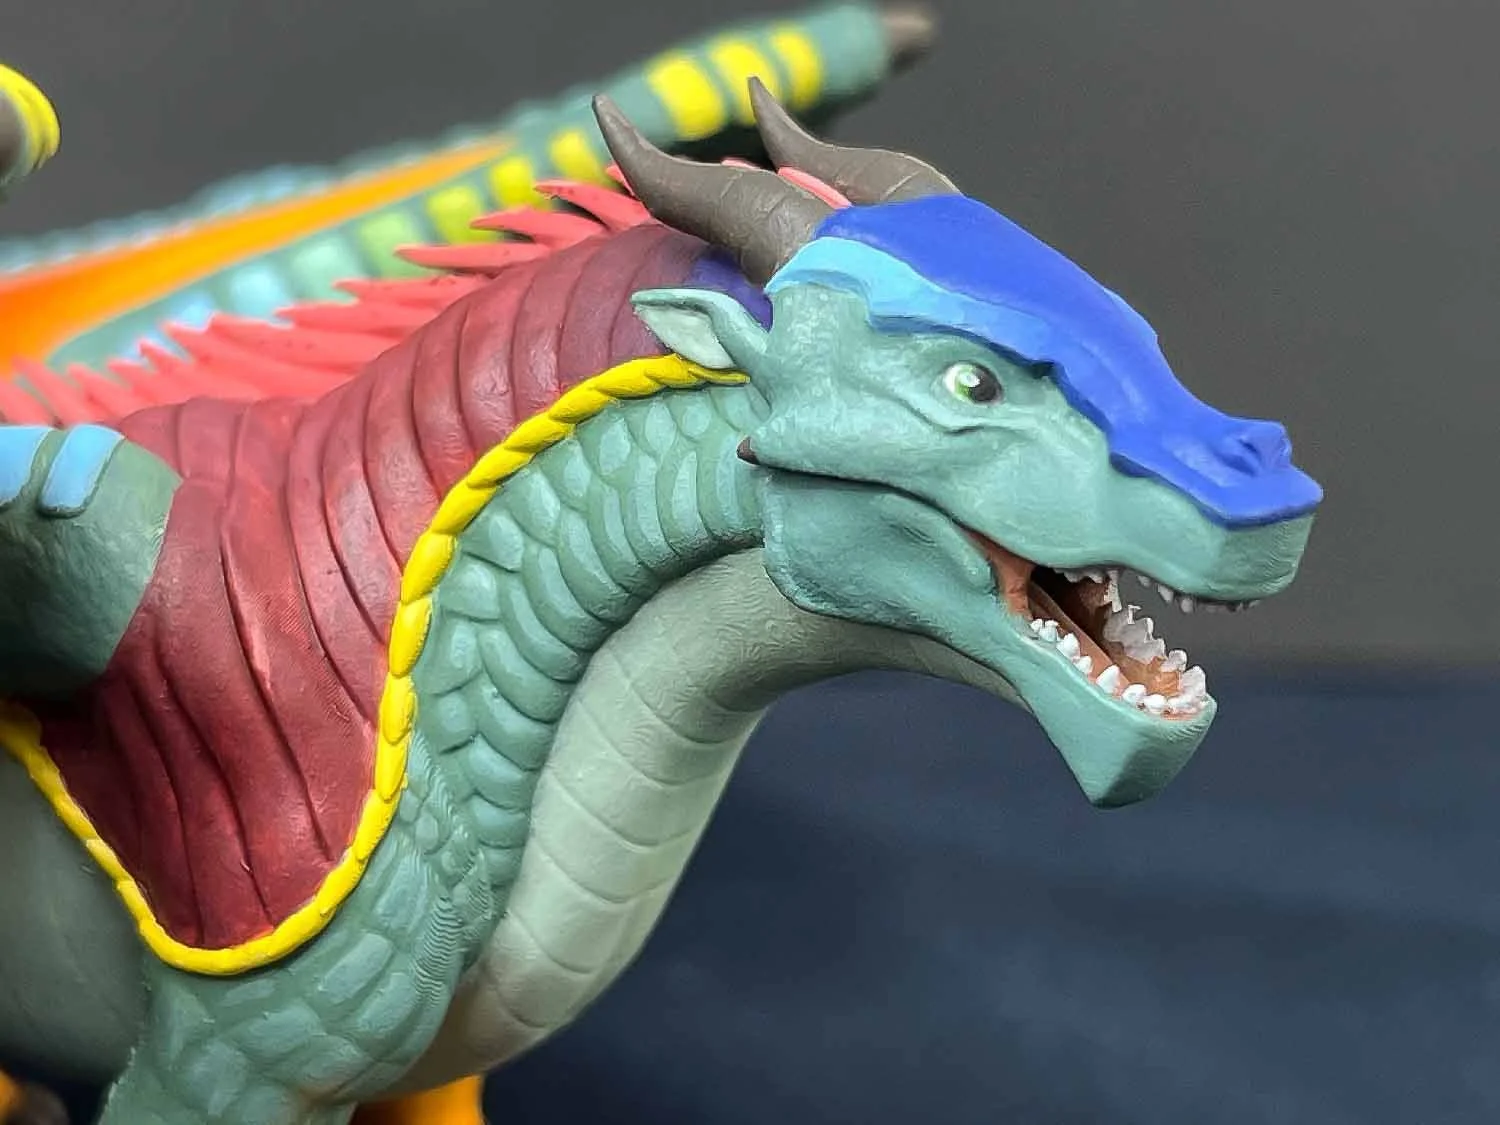
Final Outcome
Below is the grand showcase of my work from the project; featuring completed 3D sculpts, 3D prints, and painted figures.
Reflection
This project taught me how to balance creative problem-solving with practical constraints such as manufacturing, fulfillment, and customer expectations.
I learned that successful products require more than just a strong concept- they also depend on thoughtful technical decisions, clear communication, and a reliable production process. The experience gave me valuable insight into bringing a creative product from initial design and digital sculpt to a finished item in customers' hands.